
Although no longer available in large format, Velvia 50 was a mainstay of mine for over a decade. I’ve since switched to Provia 100f which I prefer.
Film choice, Developing & Drum scanning
For those that are new to shooting film, it can be difficult to navigate the maze of film choices, and the various service providers out there. That is one of the reasons why I have created this page to share the knowledge I have on this topic, as well as the service providers that I work with. There are many great labs out there that develop film so definitely check with the businesses that are located in your community, but if you are looking for a service provider and you don't have the benefit of a local lab, I can wholeheartedly recommend the companies and products listed on this page.
Color Landscape film
Though I have dabbled into black and white photography, I deal primarily with color film because I am drawn to subjects with color contrast — especially ones that are photographed in beautiful reflected light. Below are the three primary film stocks that I use, as well as information on how to meter each film, and several sample photos.

Fuji Velvia 50 is a high contrast, high saturation color transparency film. I have found that it is best used when photographing subjects in soft, indirect light, as opposed to harsh light. It is my most commonly used film, and is available only by purchasing direct from Japan.
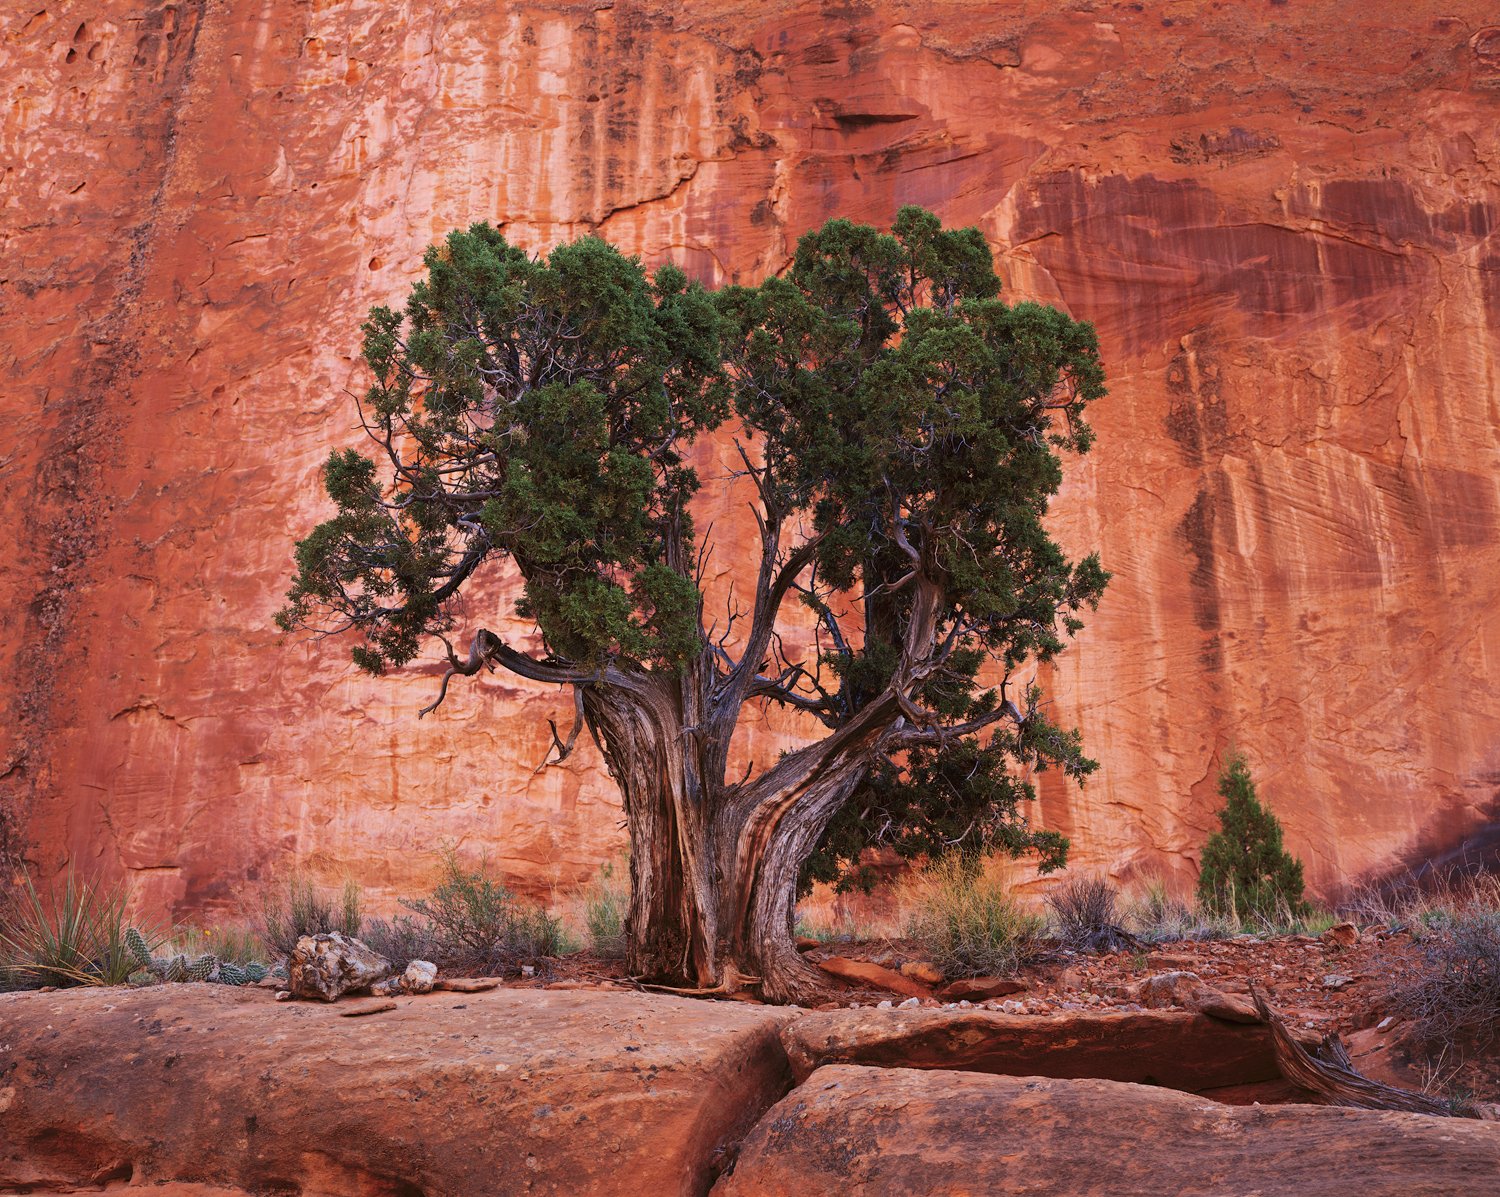
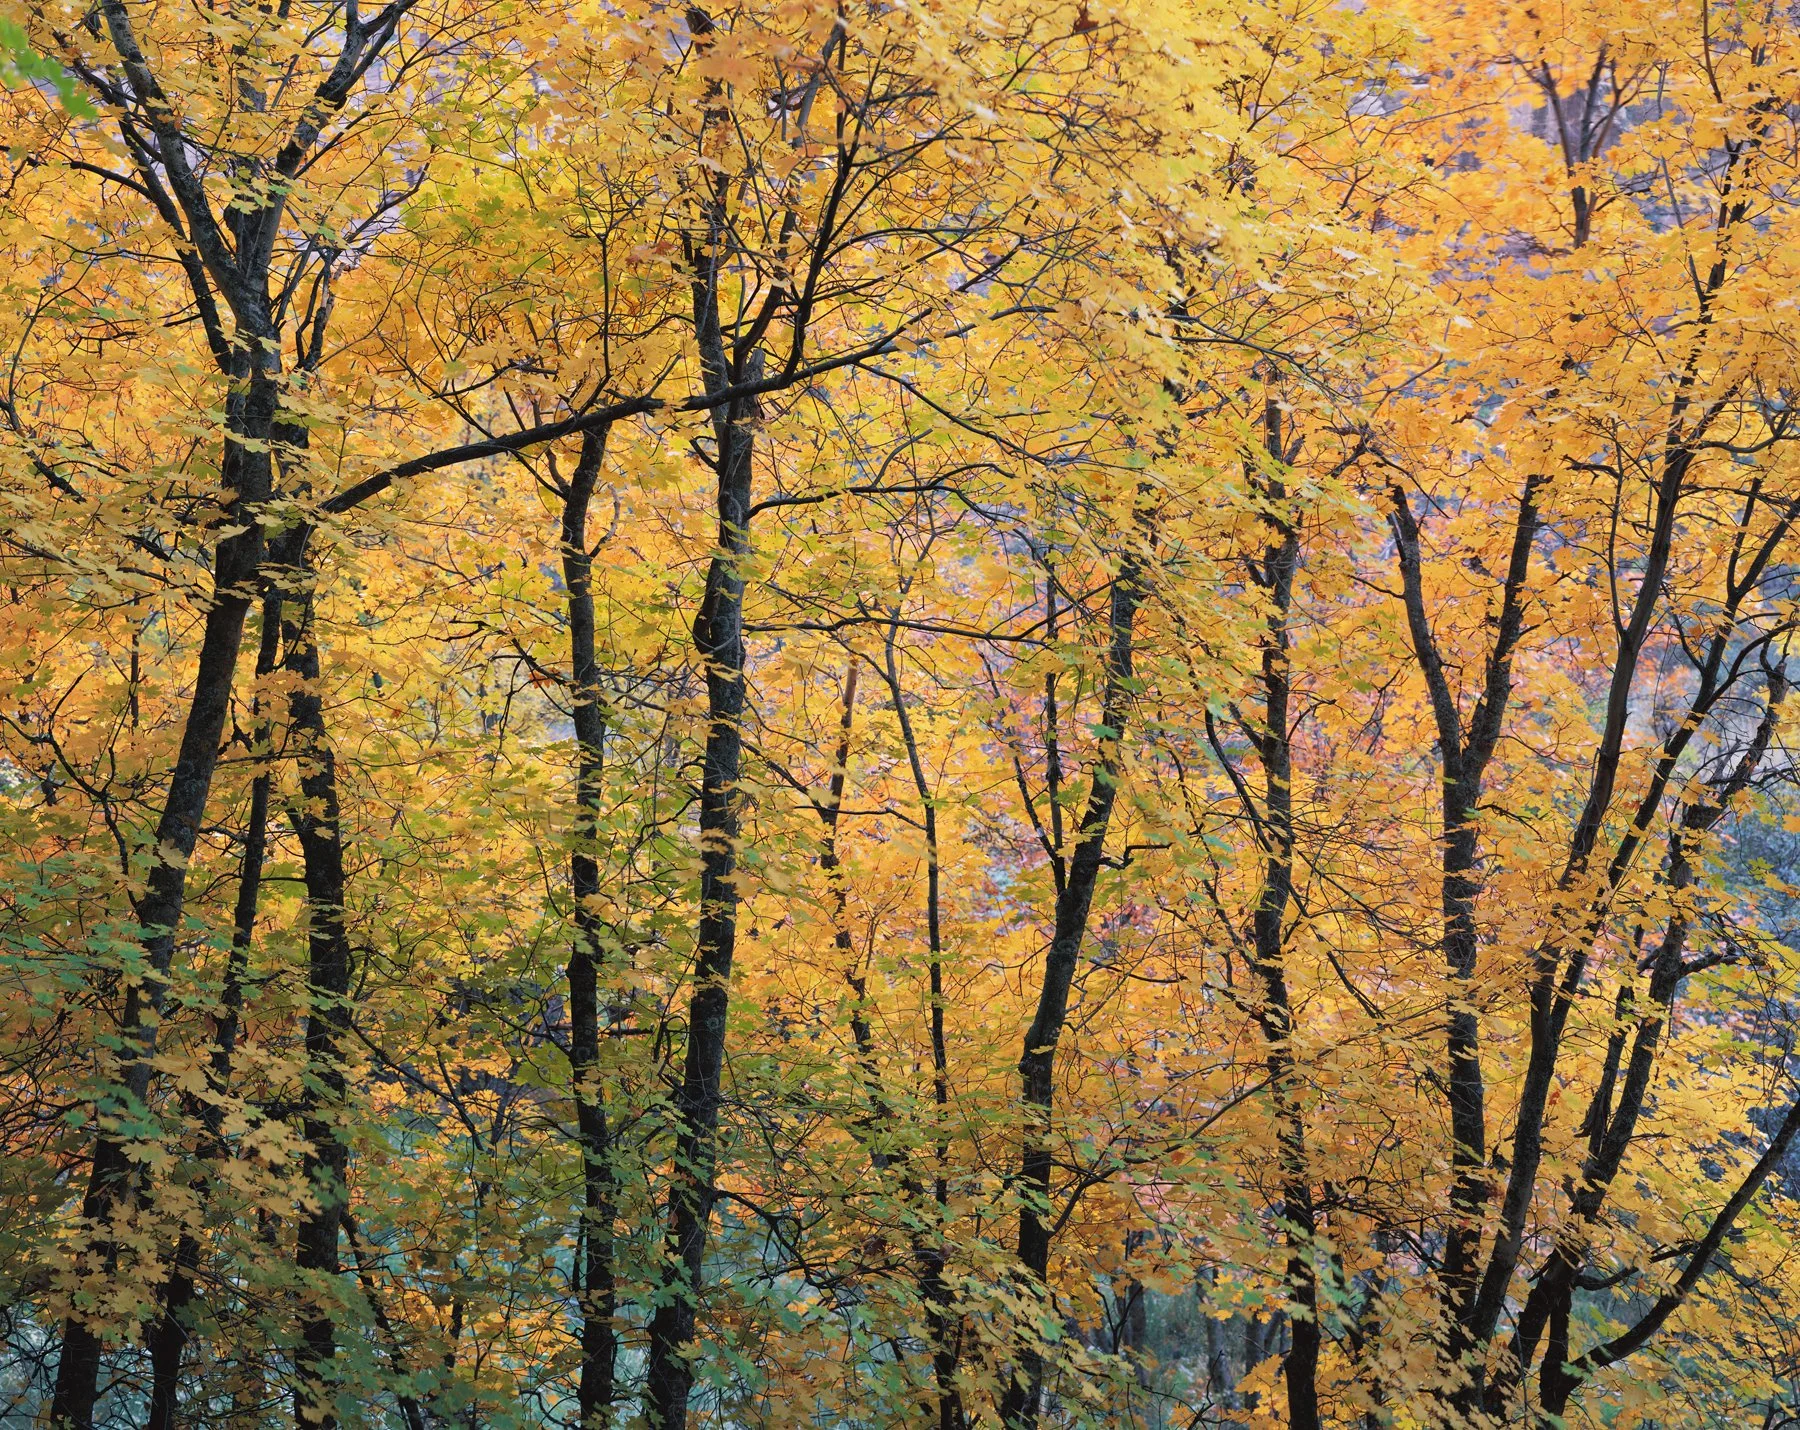
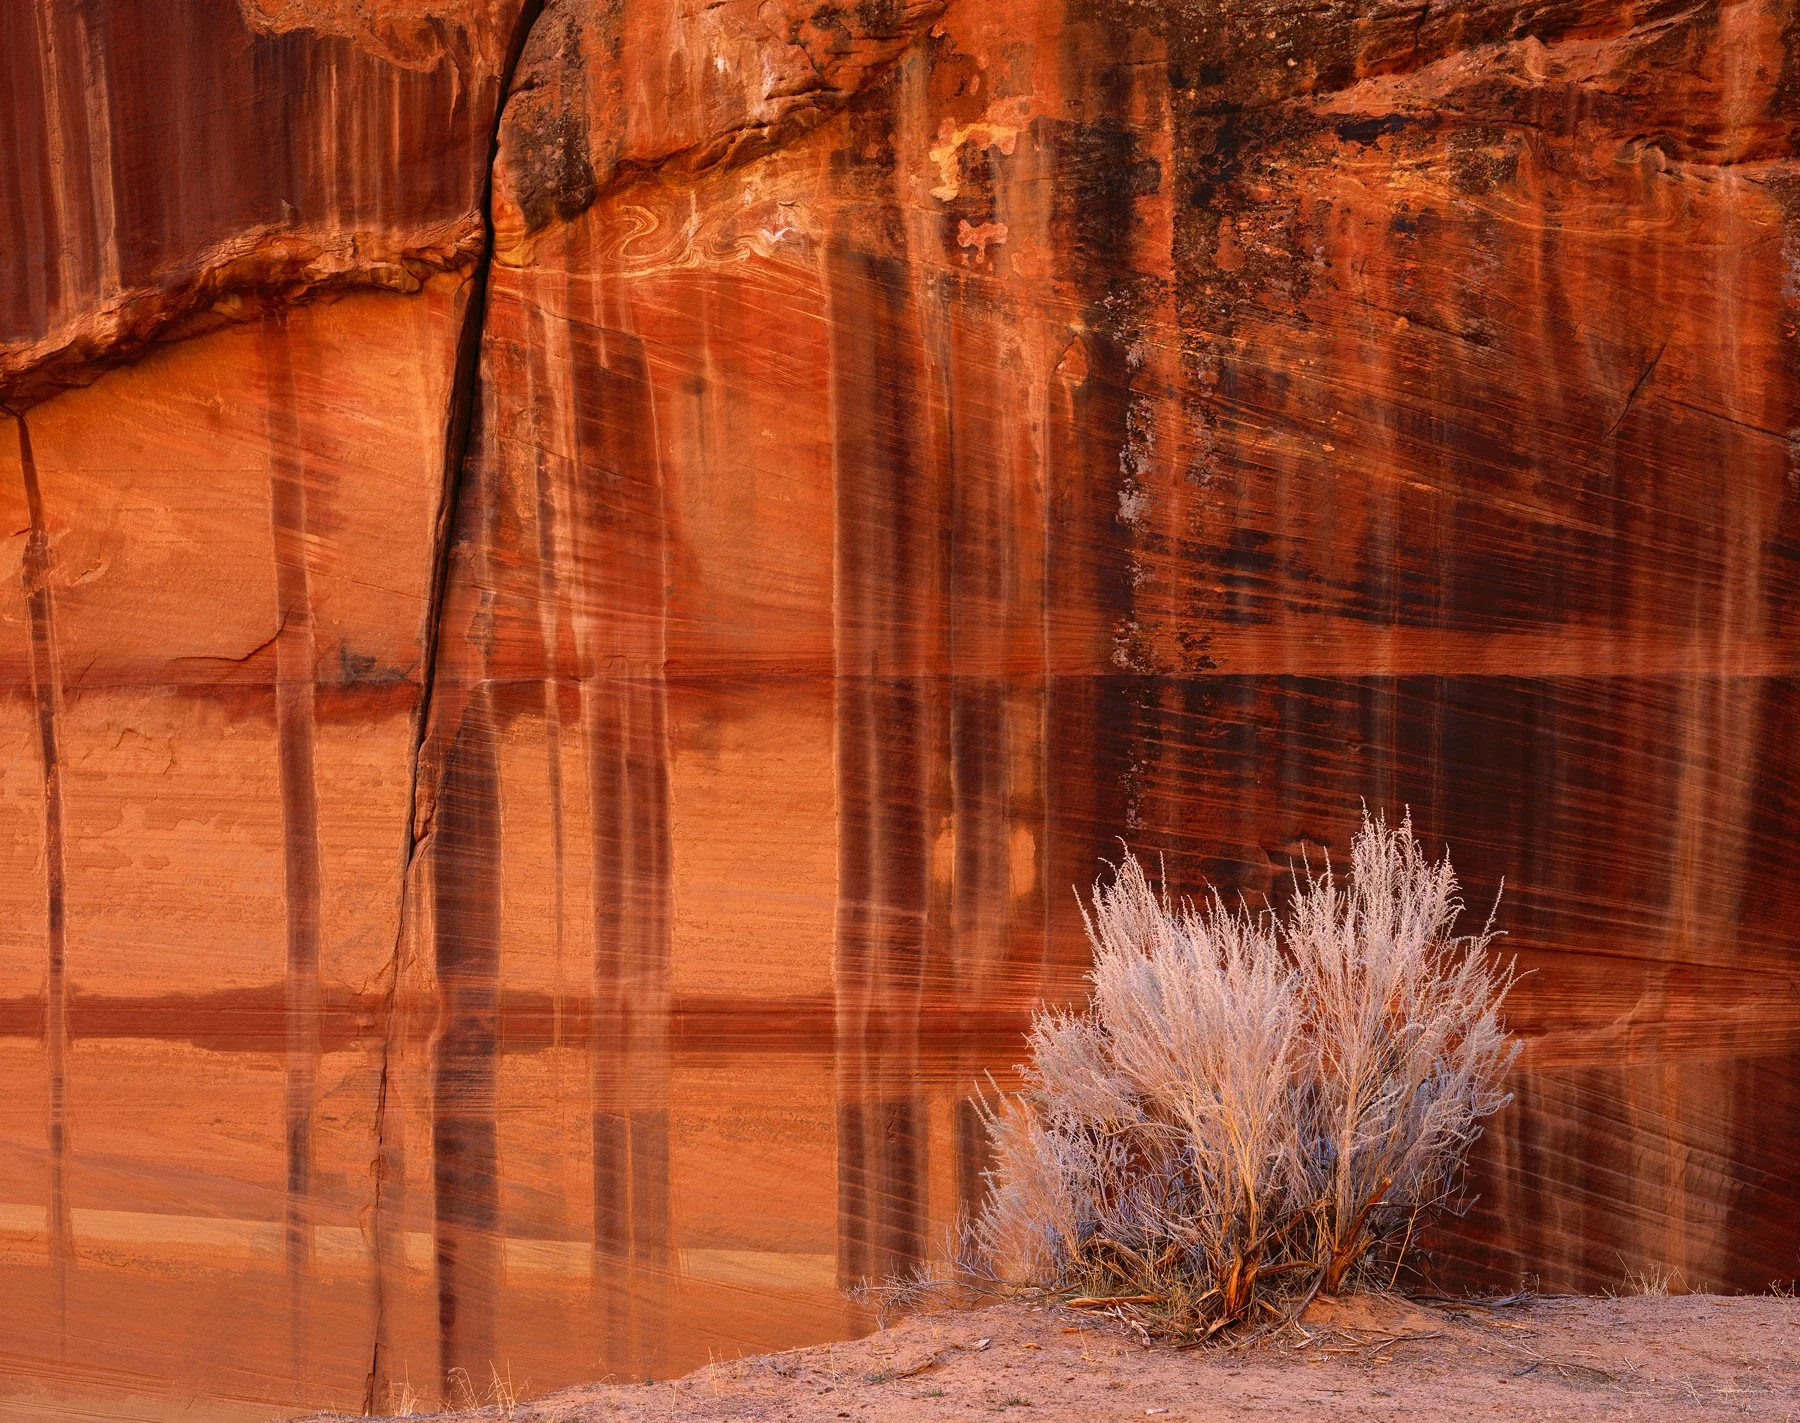
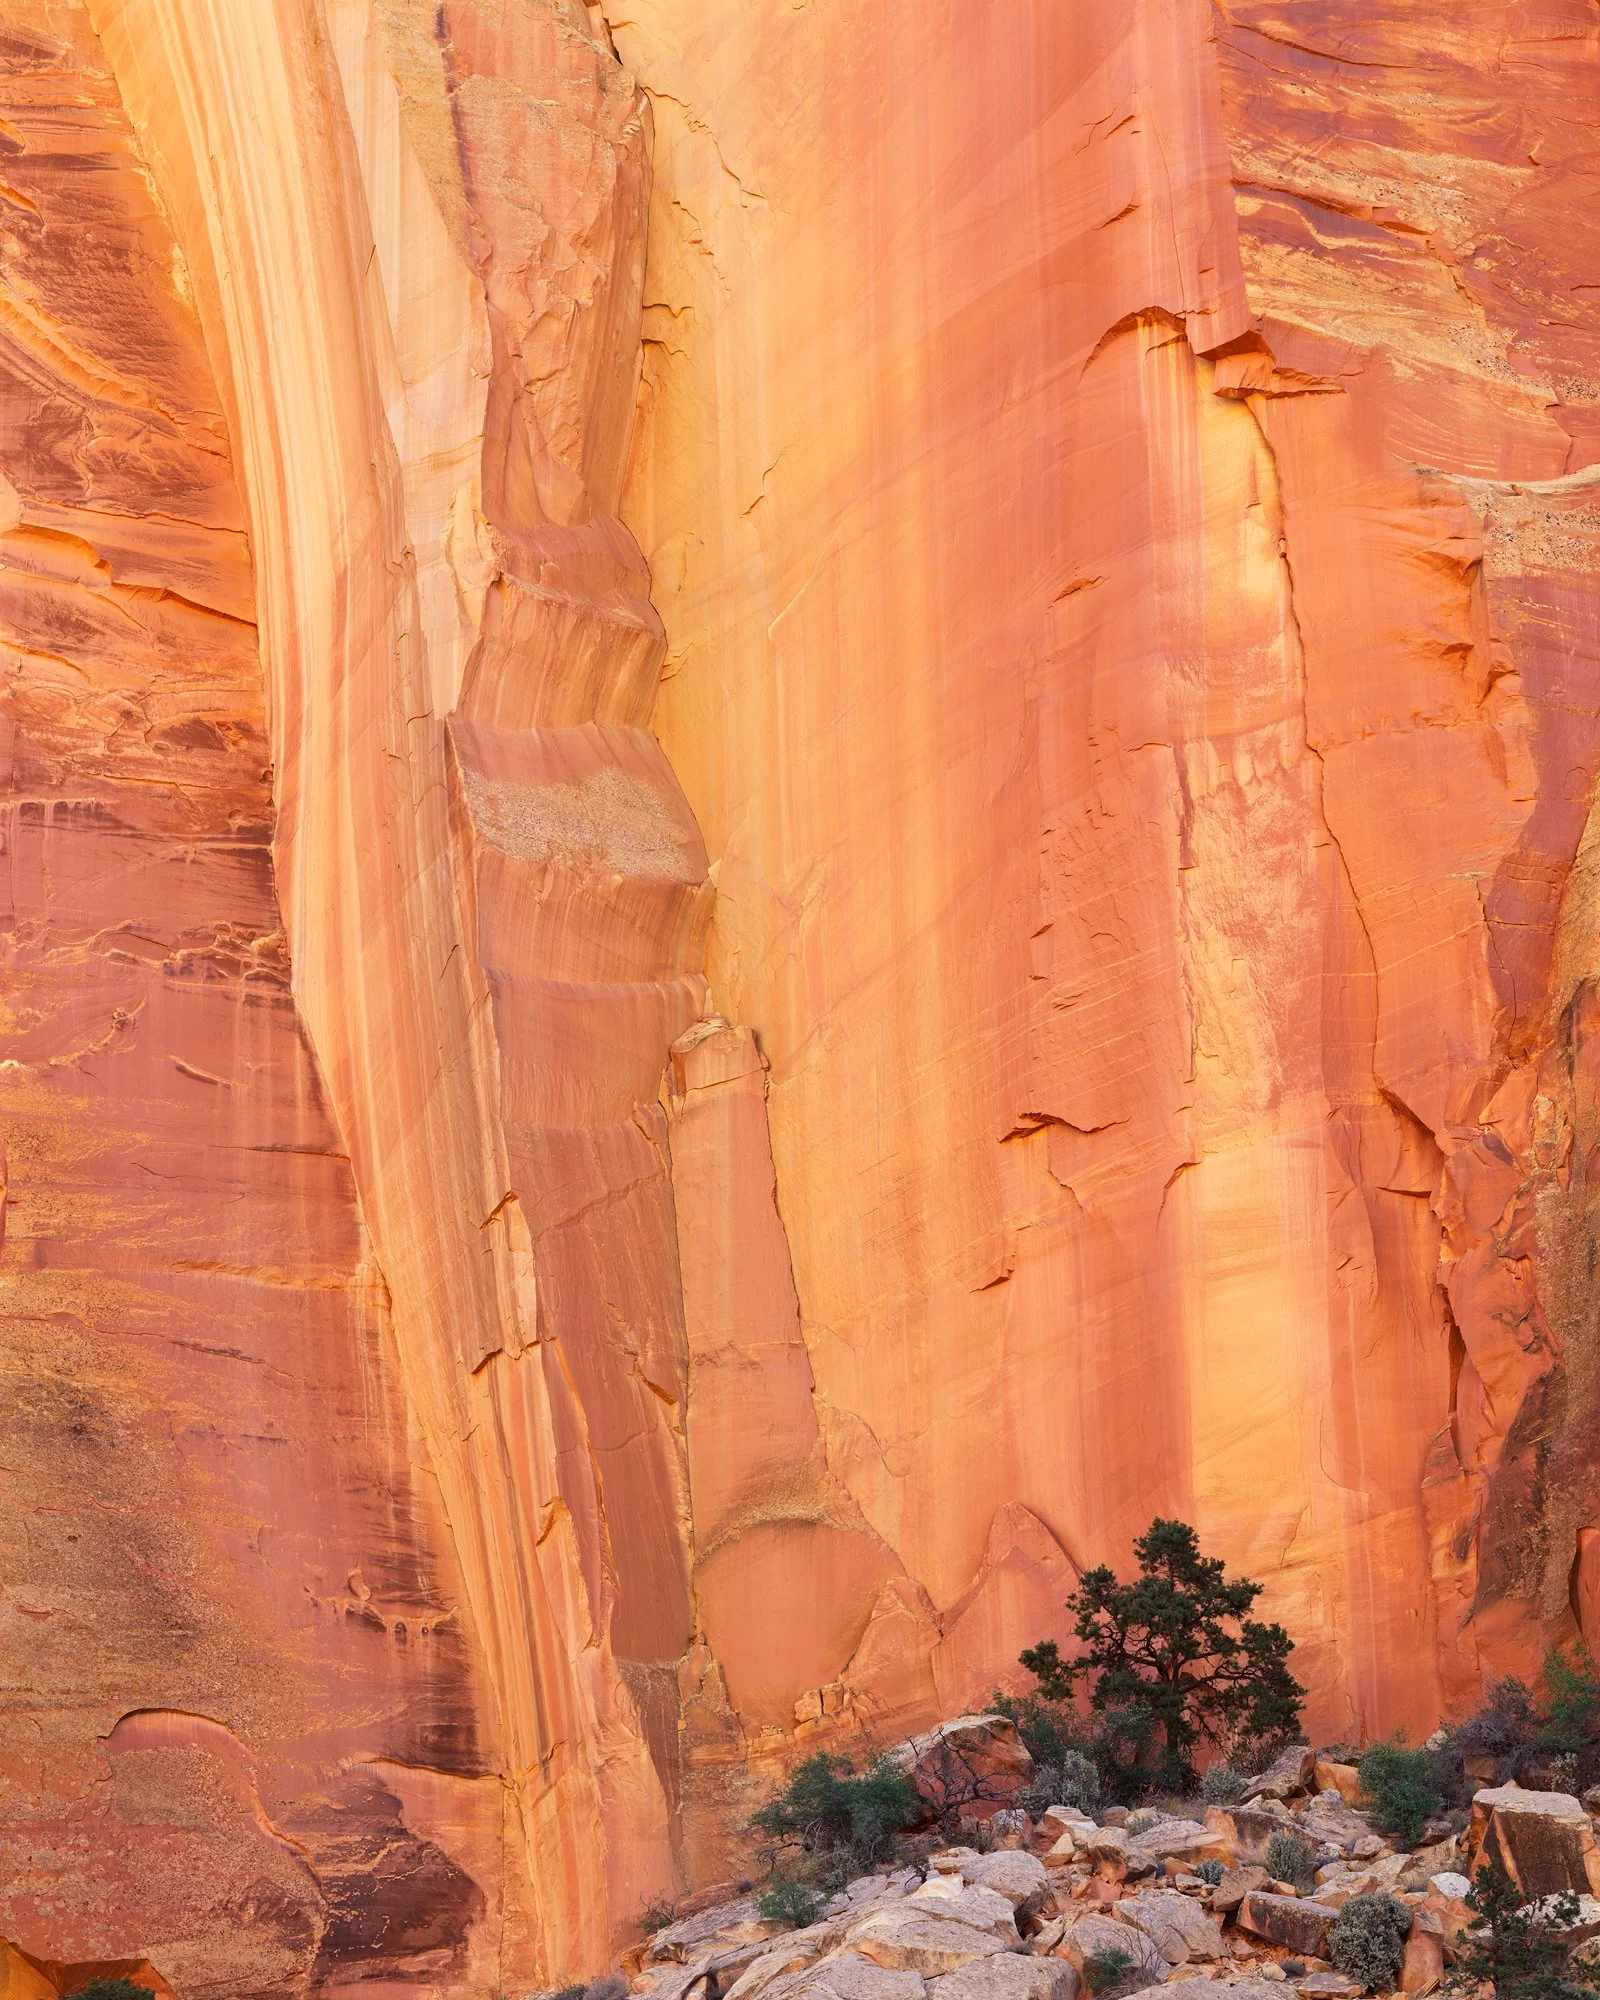
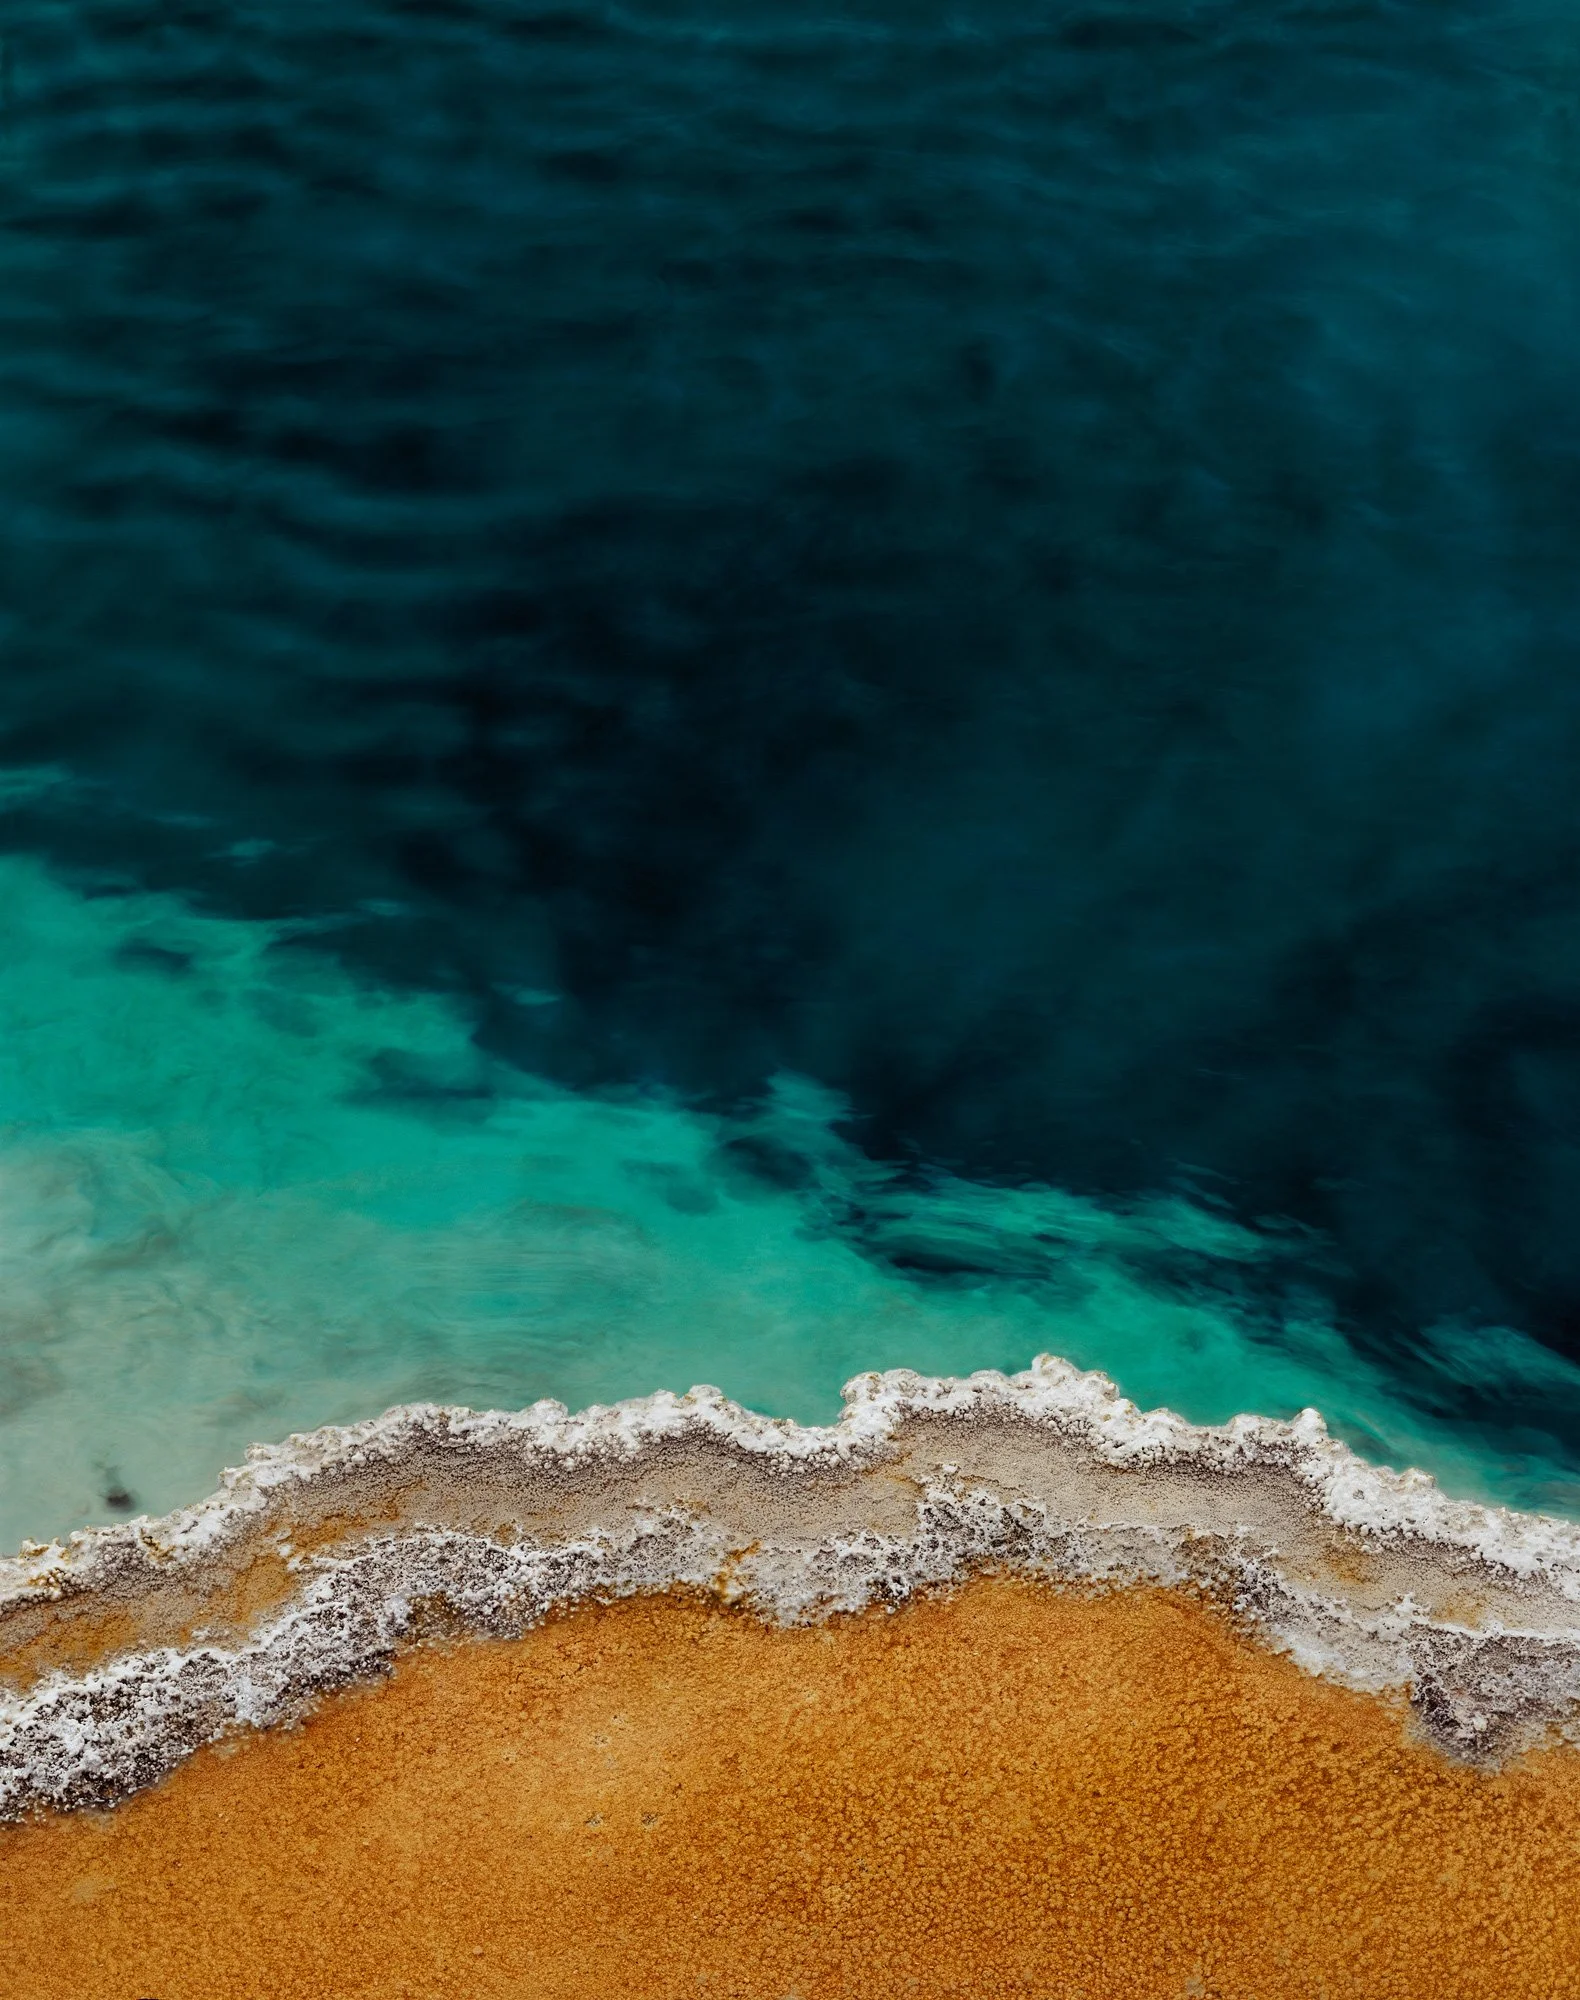
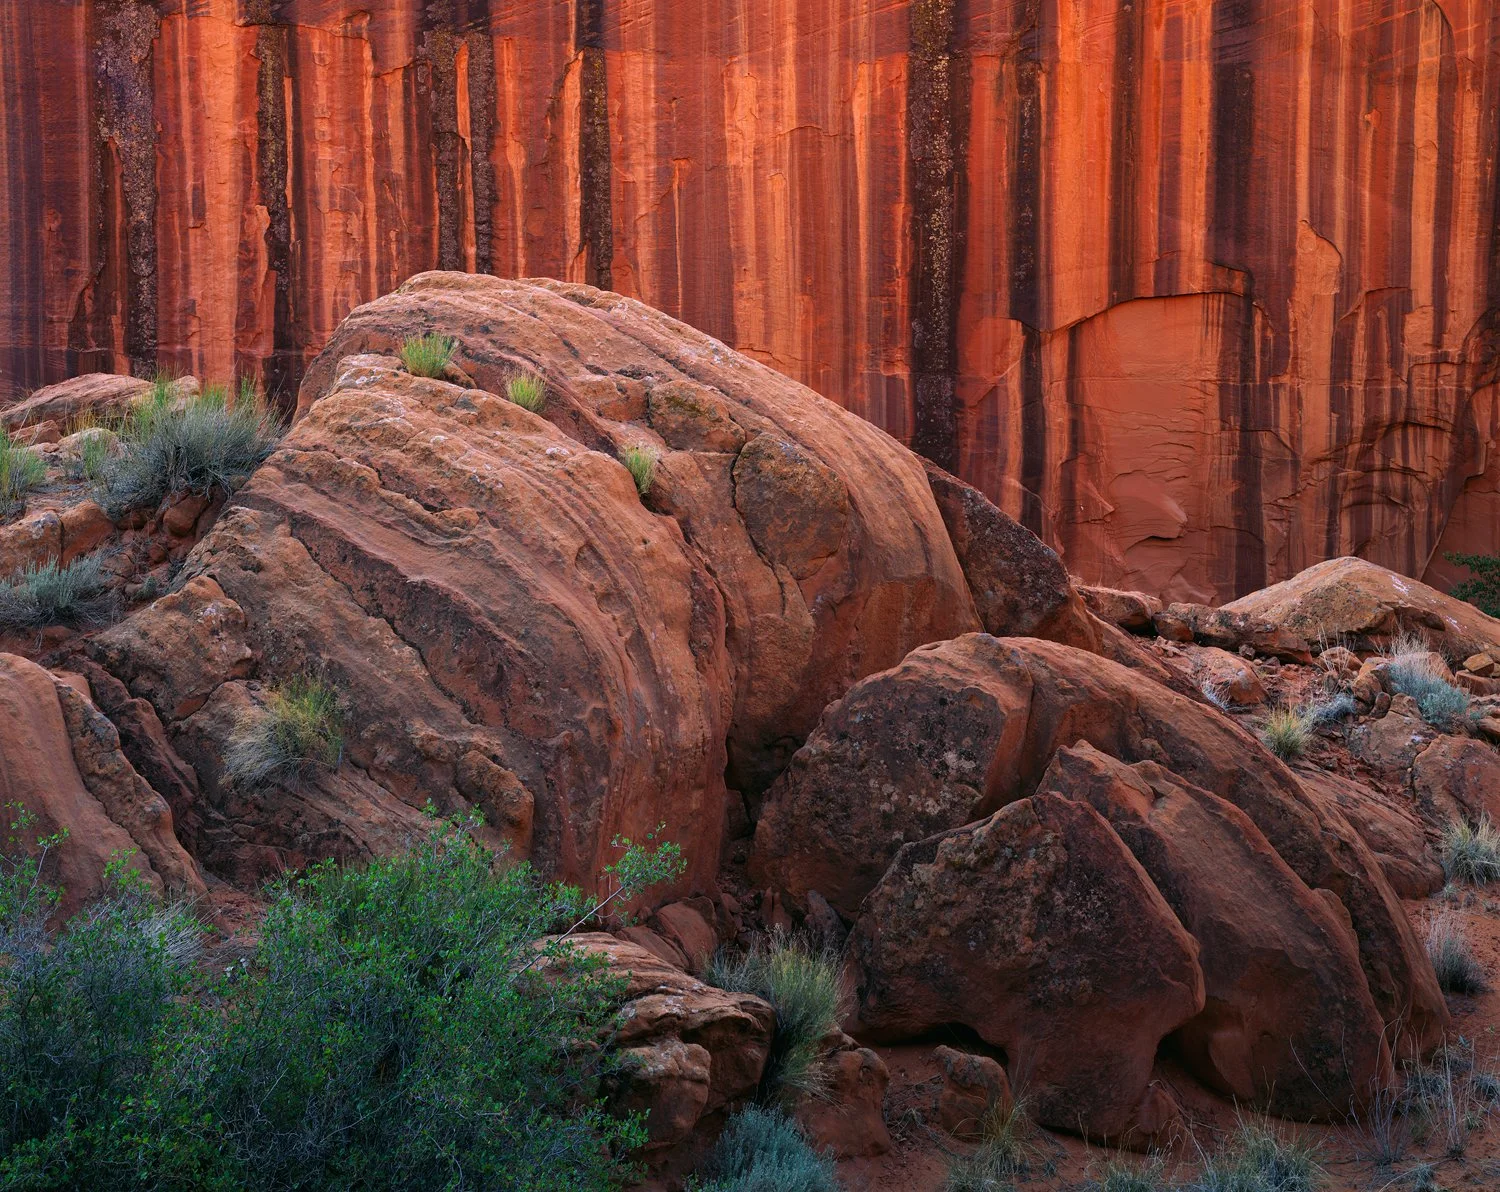
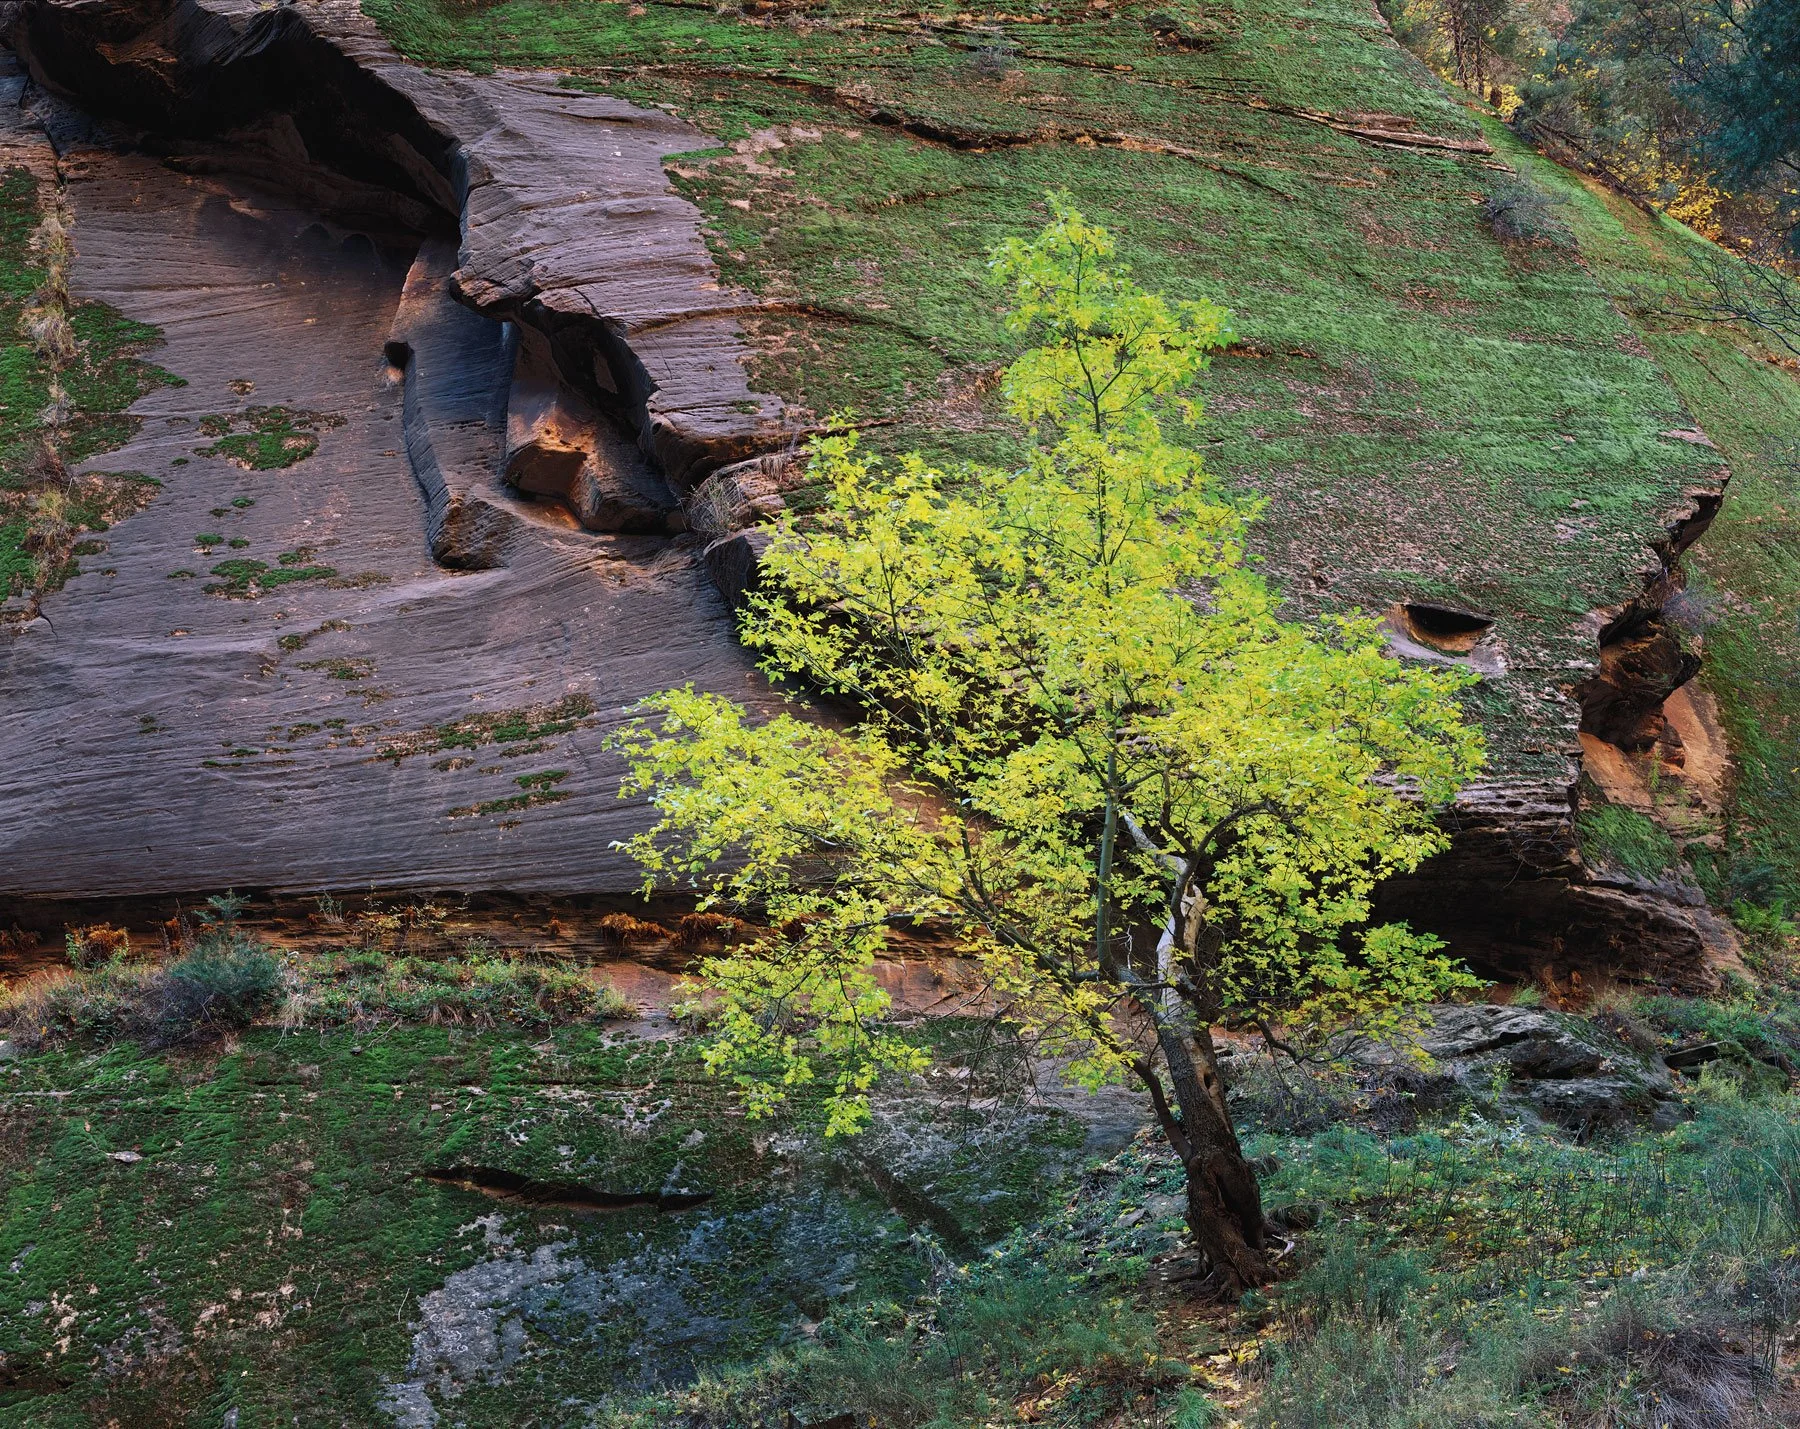
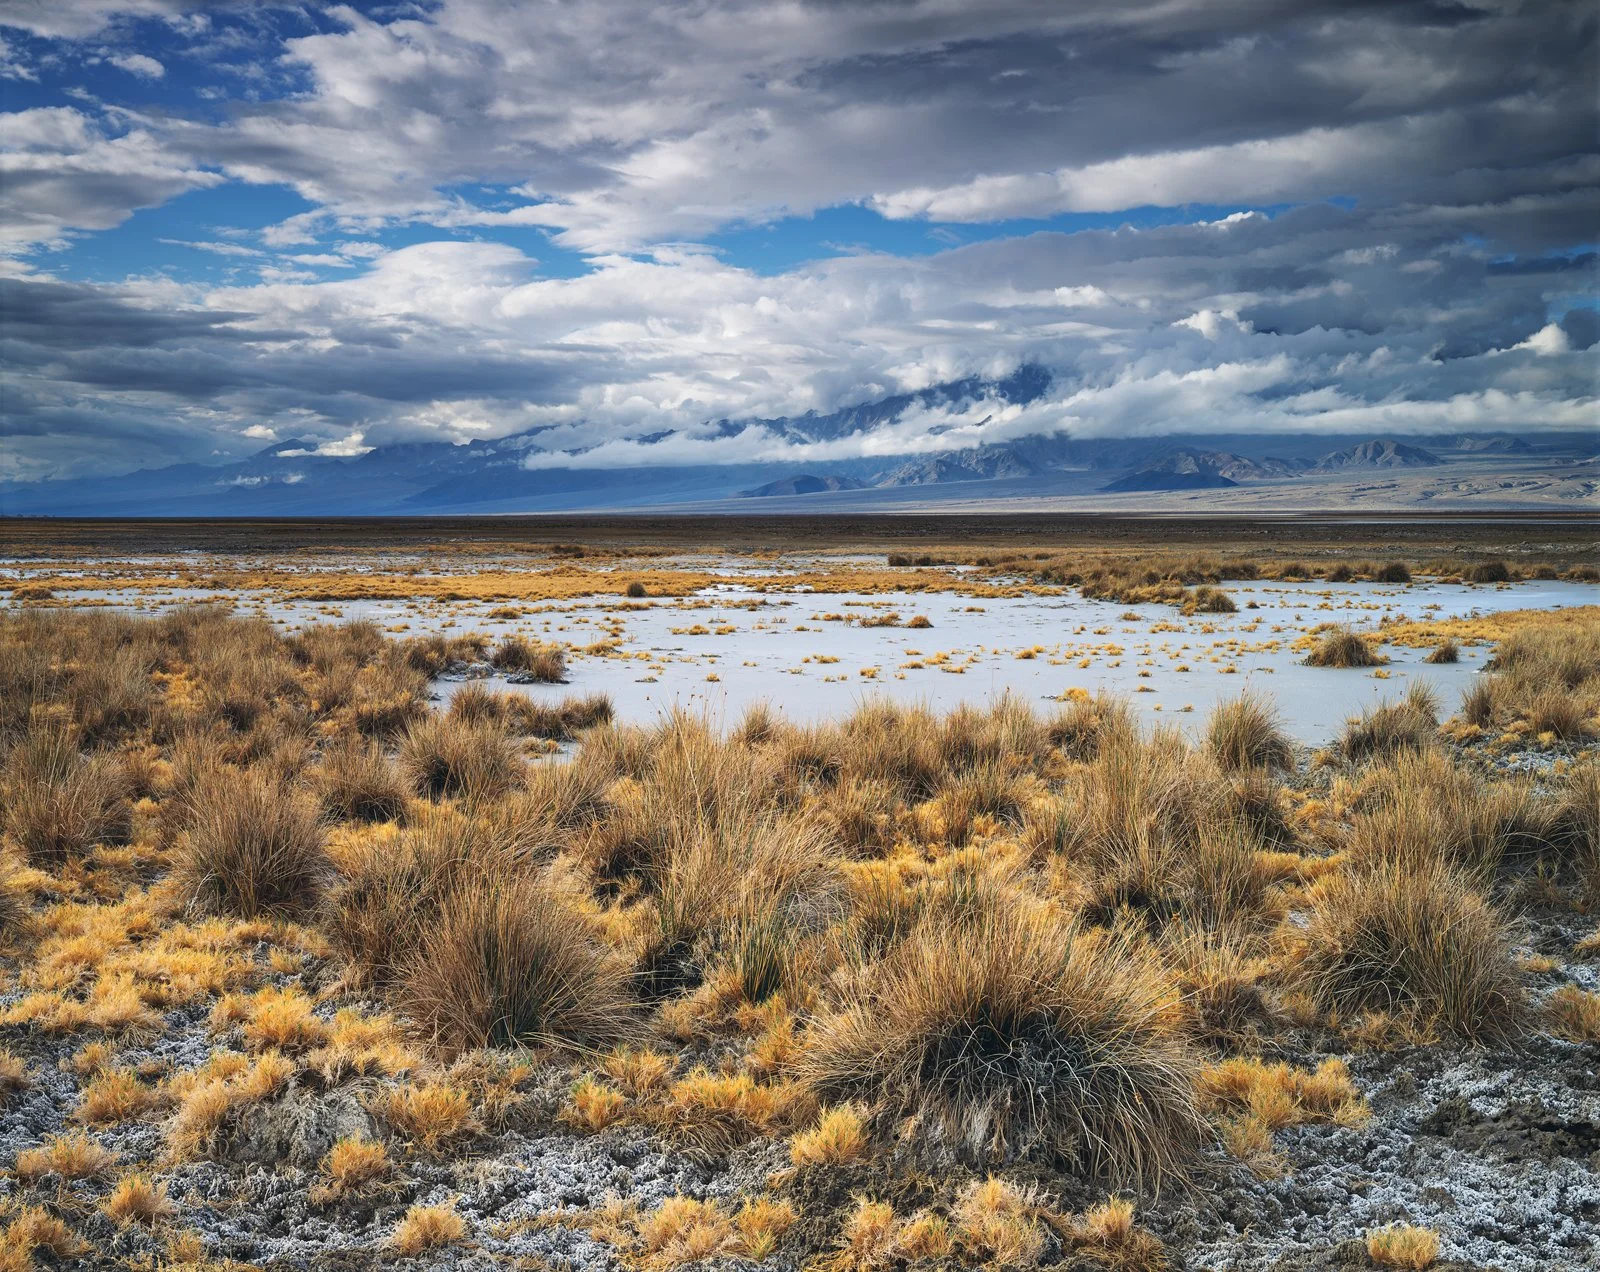
Fujifilm Velvia 50
Vivid Color and Contrast, Well Suited for Indirect Light
Although no longer available for purchase in 4x5 and 8x10 format, Velvia 50 was my primary film for many years. It’s high contrast and vivid saturation worked wonders for subjects illuminated by indirect light.
Fuji Velvia 50 wasn’t without flaws though. It had relatively poor reciprocity failure numbers, requiring additional exposure time starting at only 4 seconds. By a minute or so, your exposure times would double, making it quite difficult to use in dim conditions.
I worked with Velvia 50 for 12 years, though toward the end of that time frame, I became increasingly dissatisfied with the results. I found it to be too contrasty, and less faithful to the subjects than I would have liked. In 2018, I began exposing sheets of both Velvia 50 and Provia 100F on the same subject, and very seldom would I select the version on Velvia 50. I switched to Provia several years before it was discontinued in large format, which helped to soften the blow of a beloved film going away.
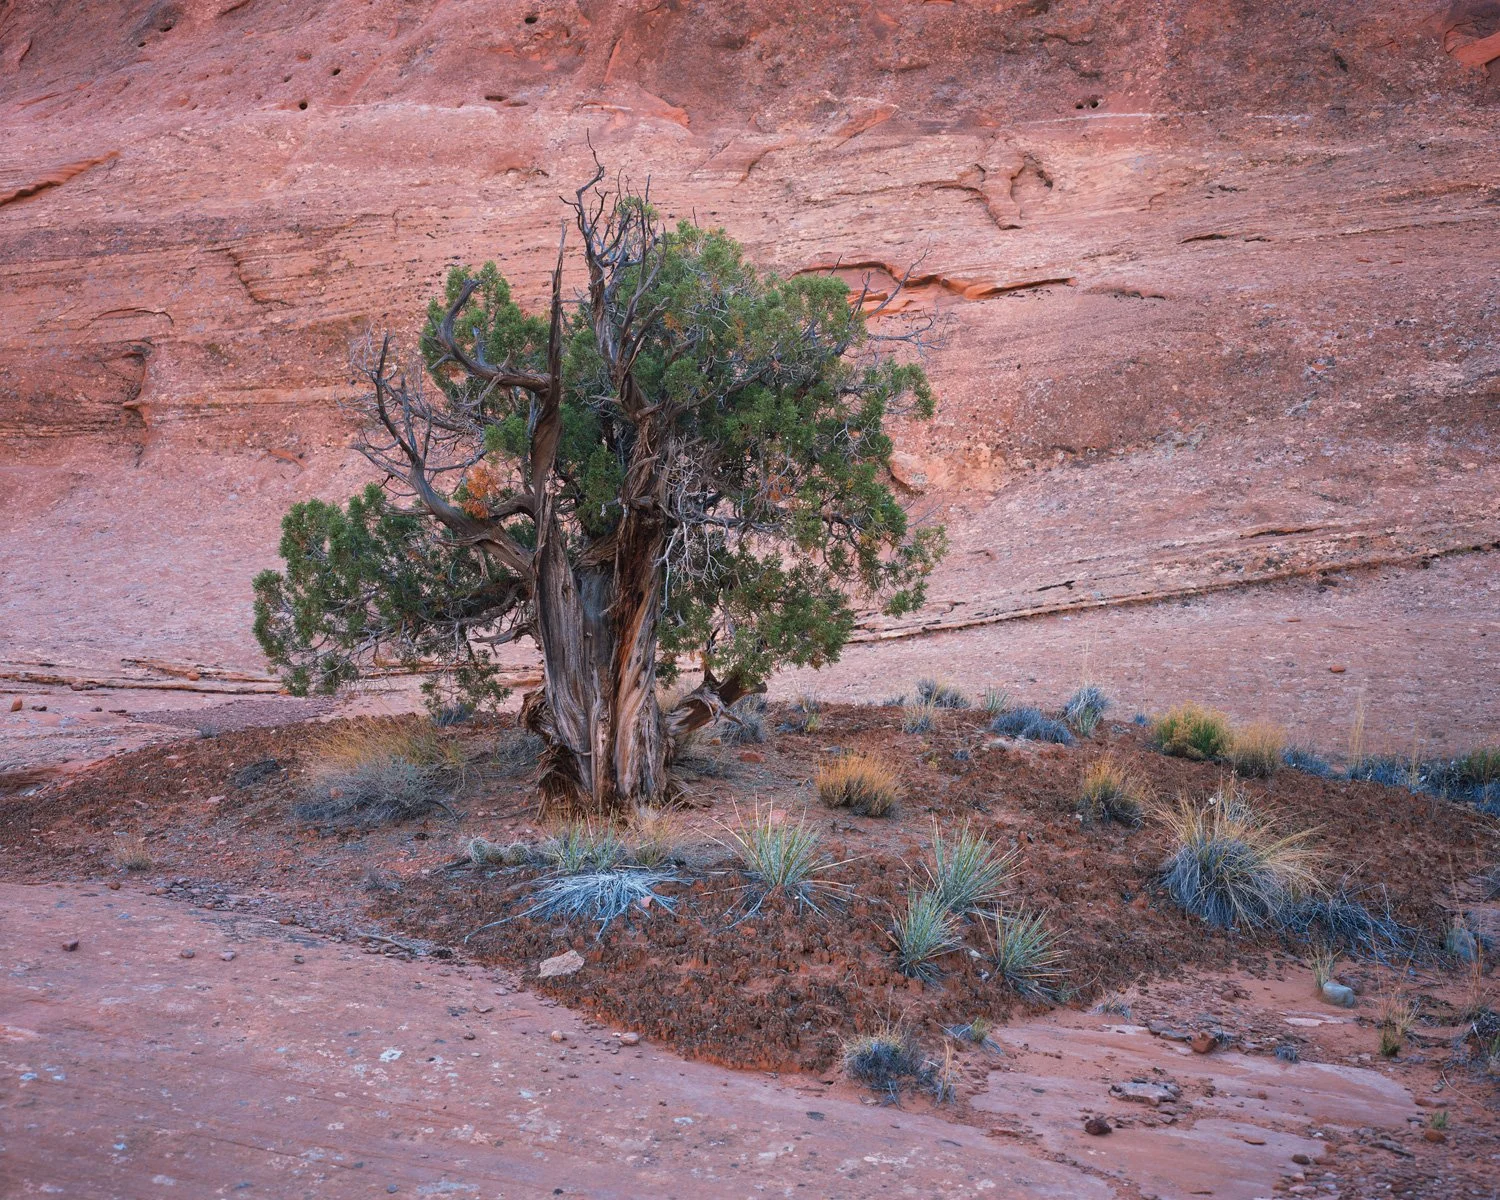
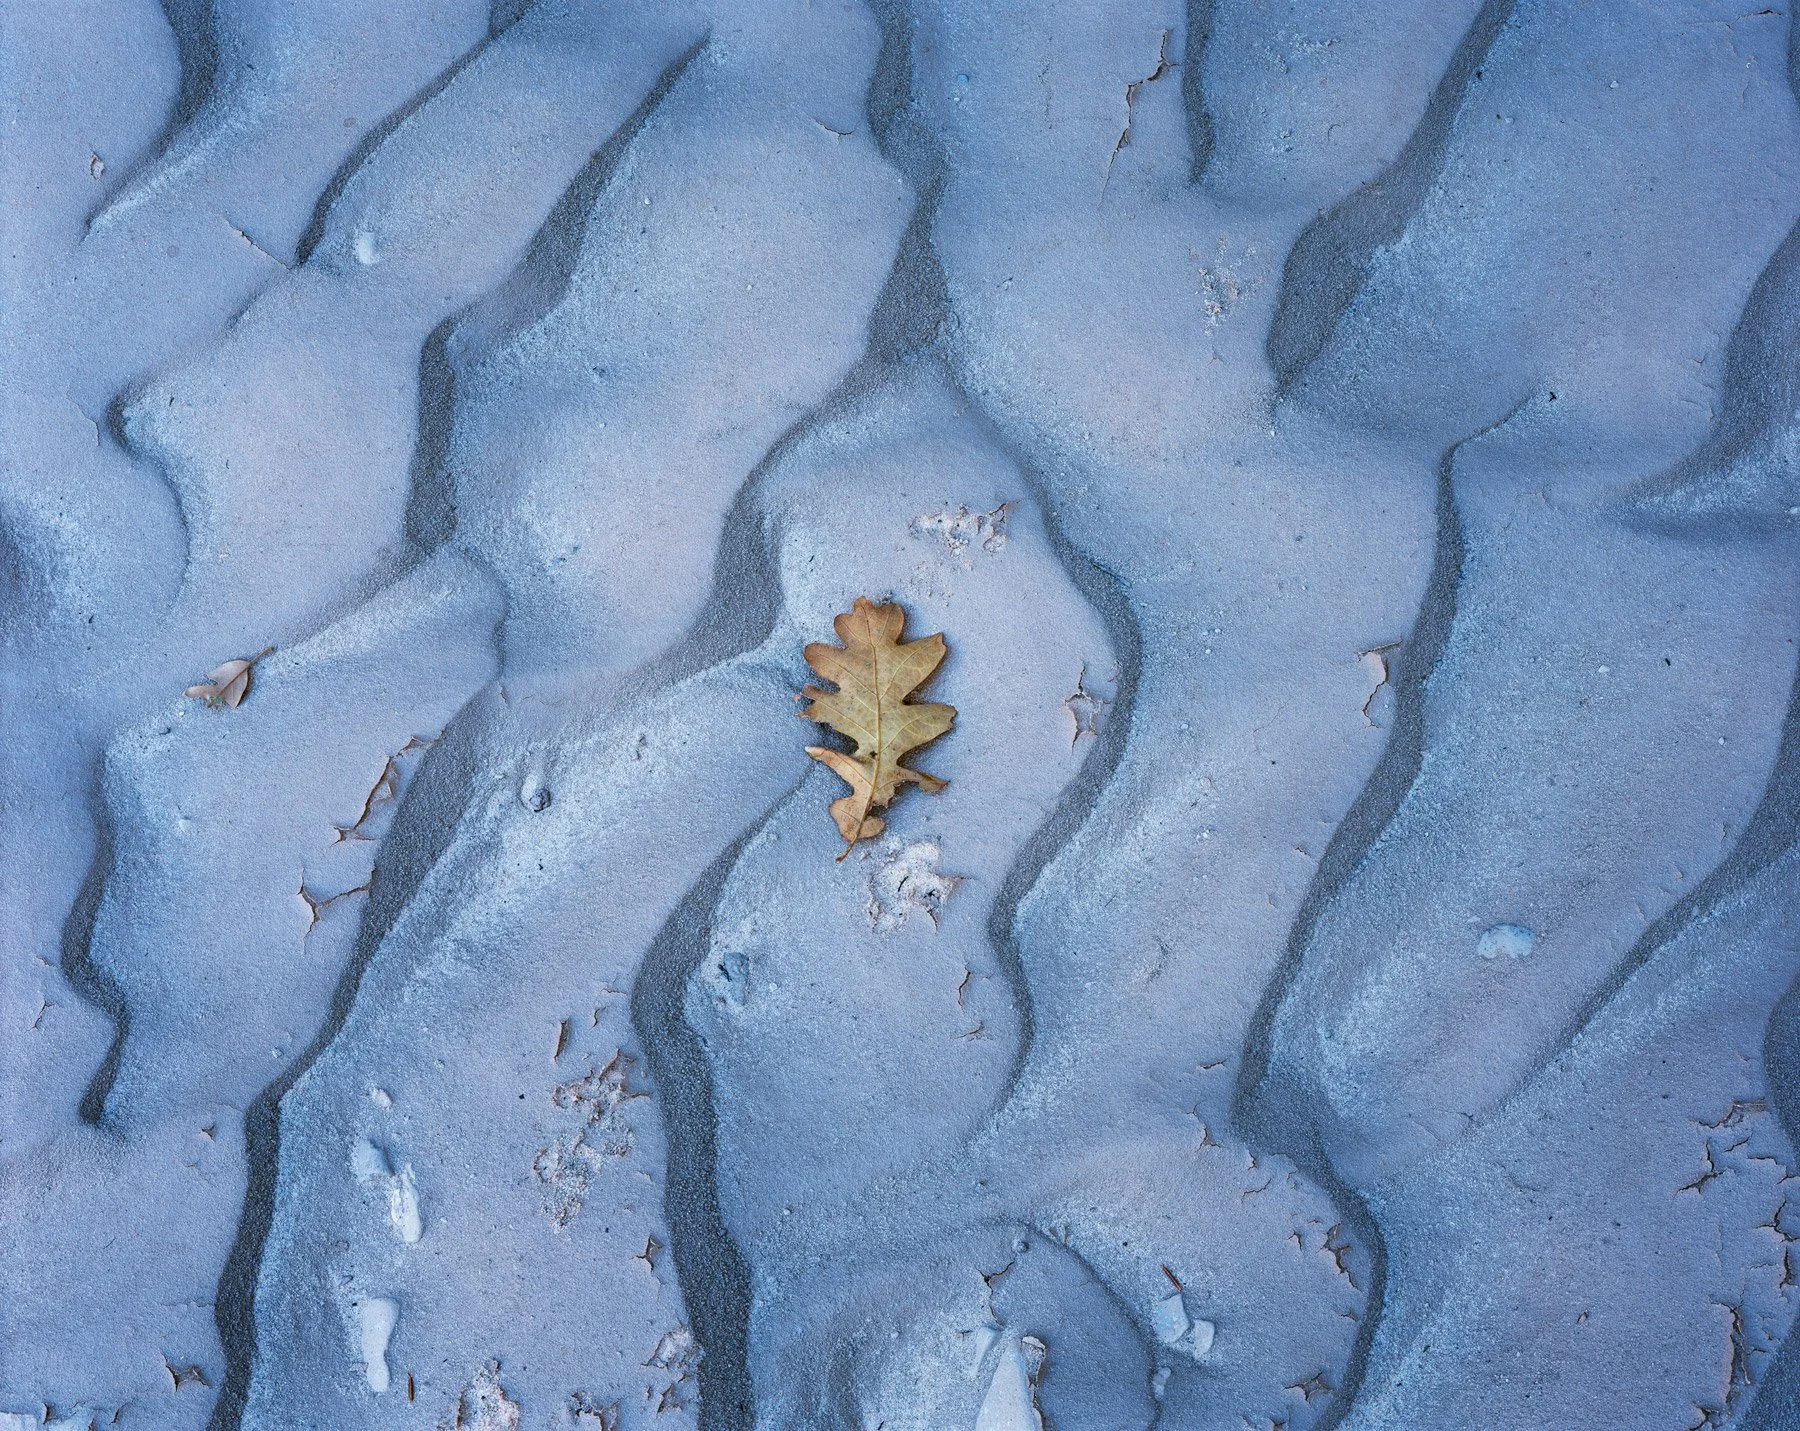
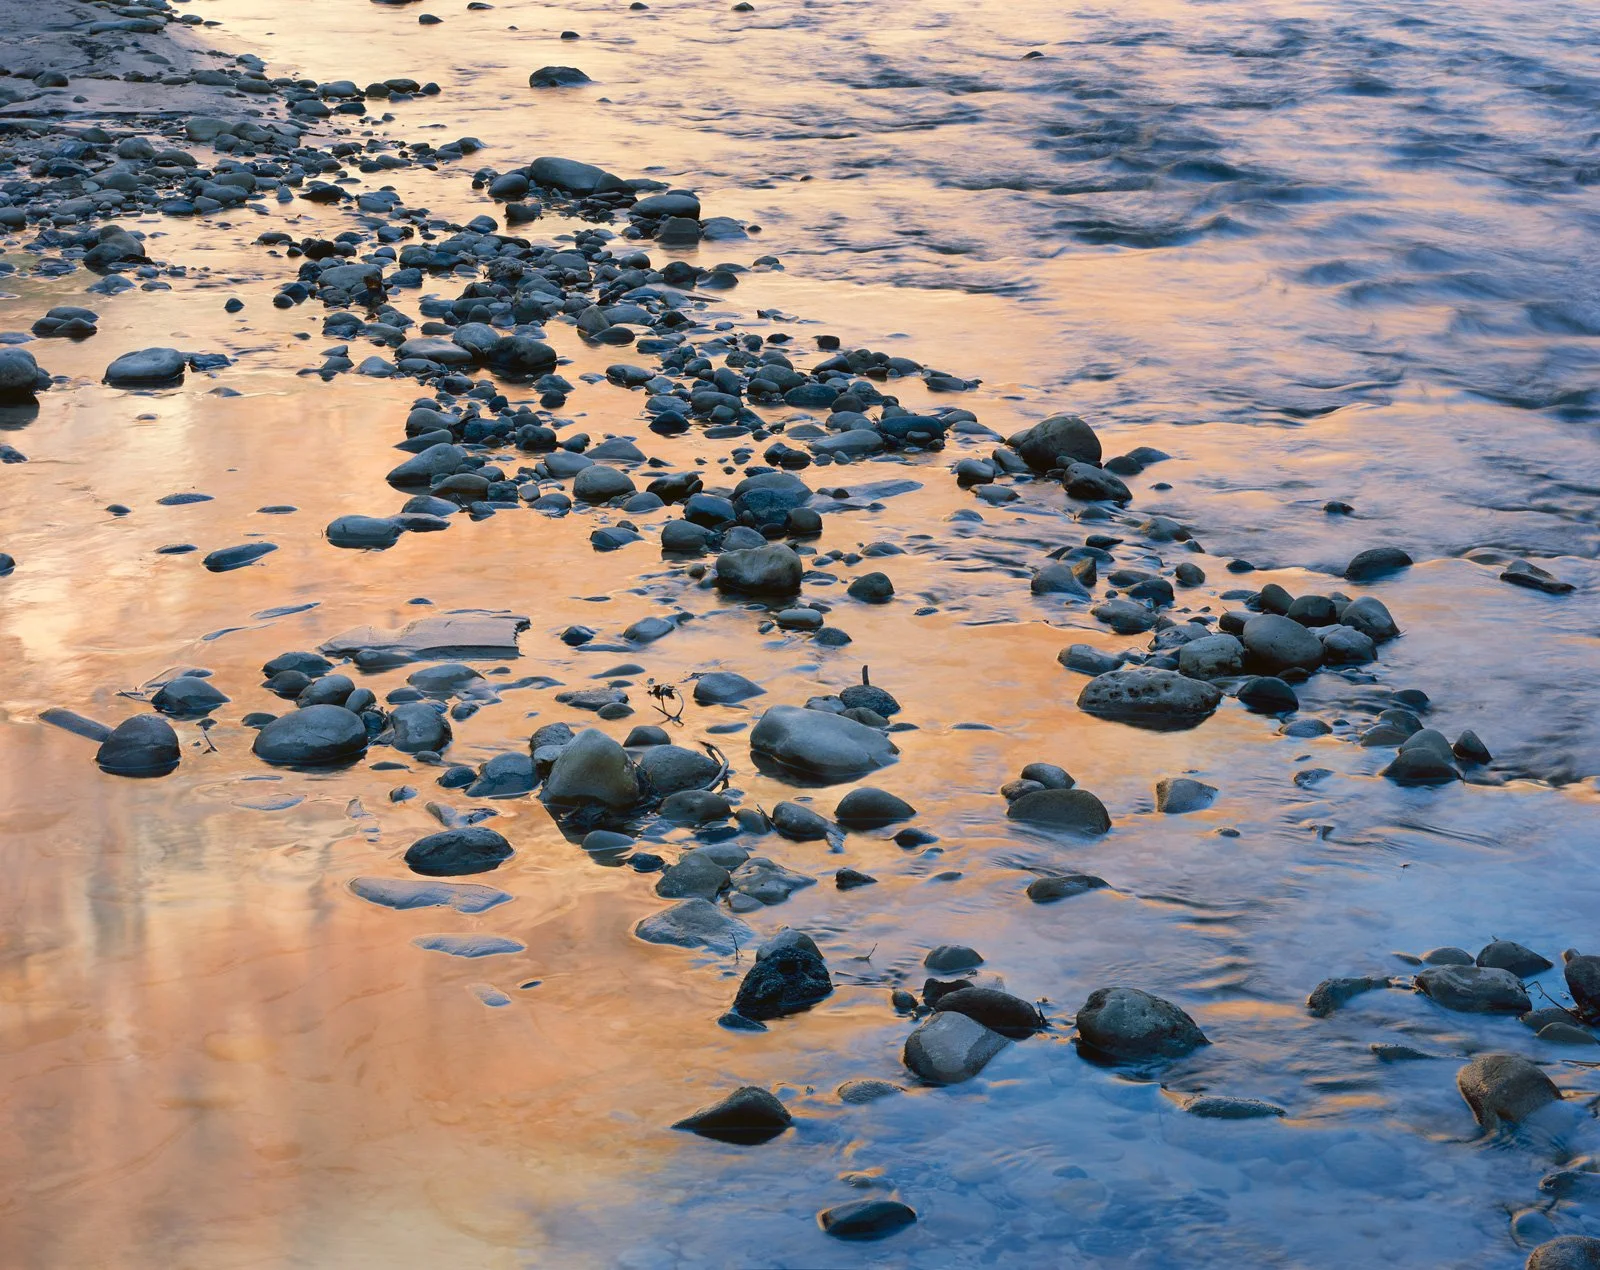
Fuji Provia 100F is a color transparency film with moderate saturation and contrast. The color palette is not as bold as Velvia, which makes it better suited for scenes that already have abundant color and contrast. Provia 100F is also ideal for working with long exposures.
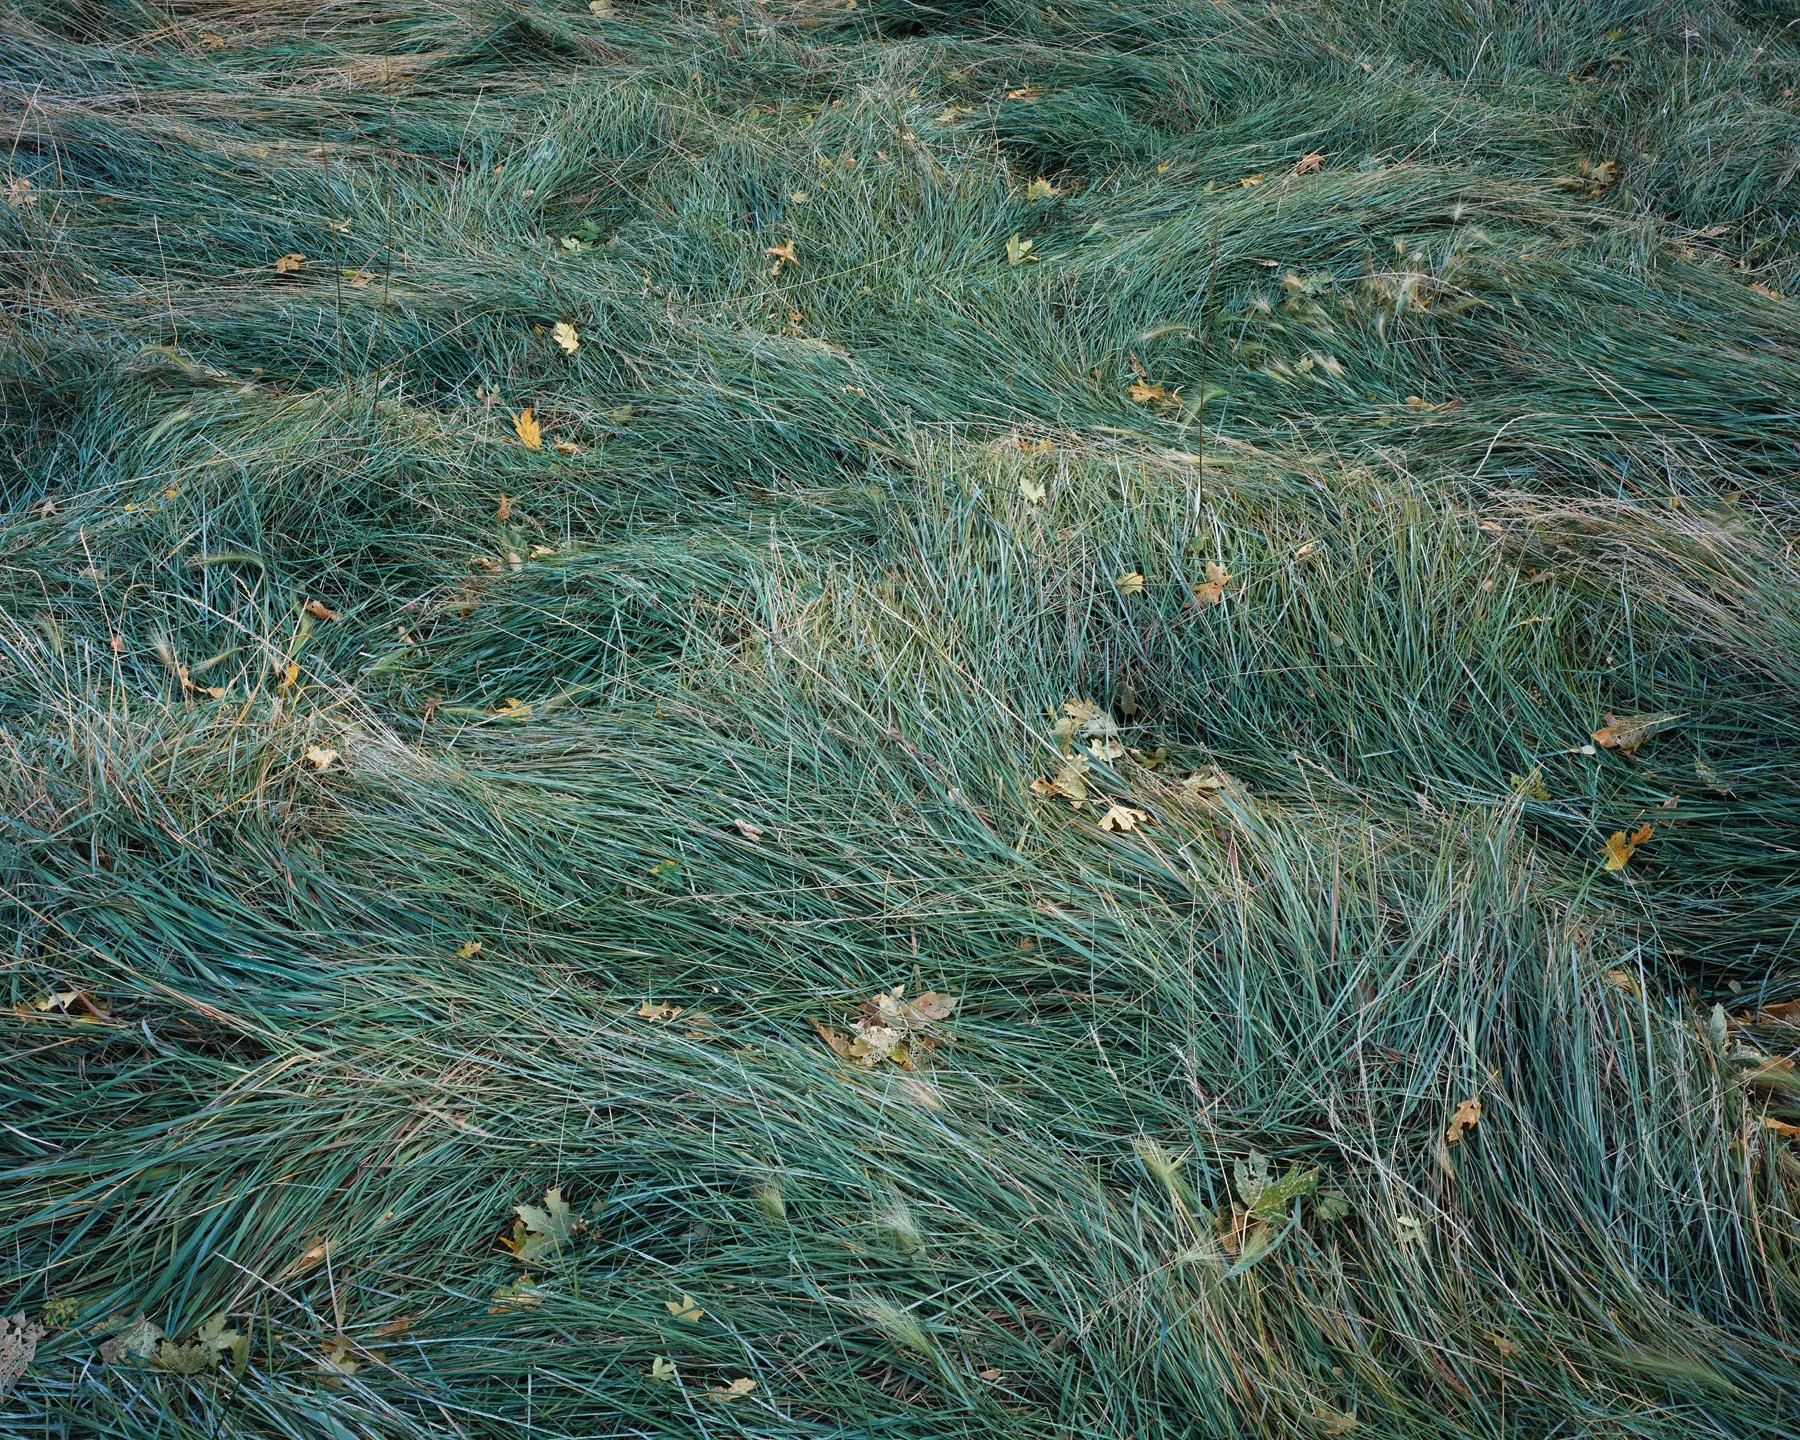
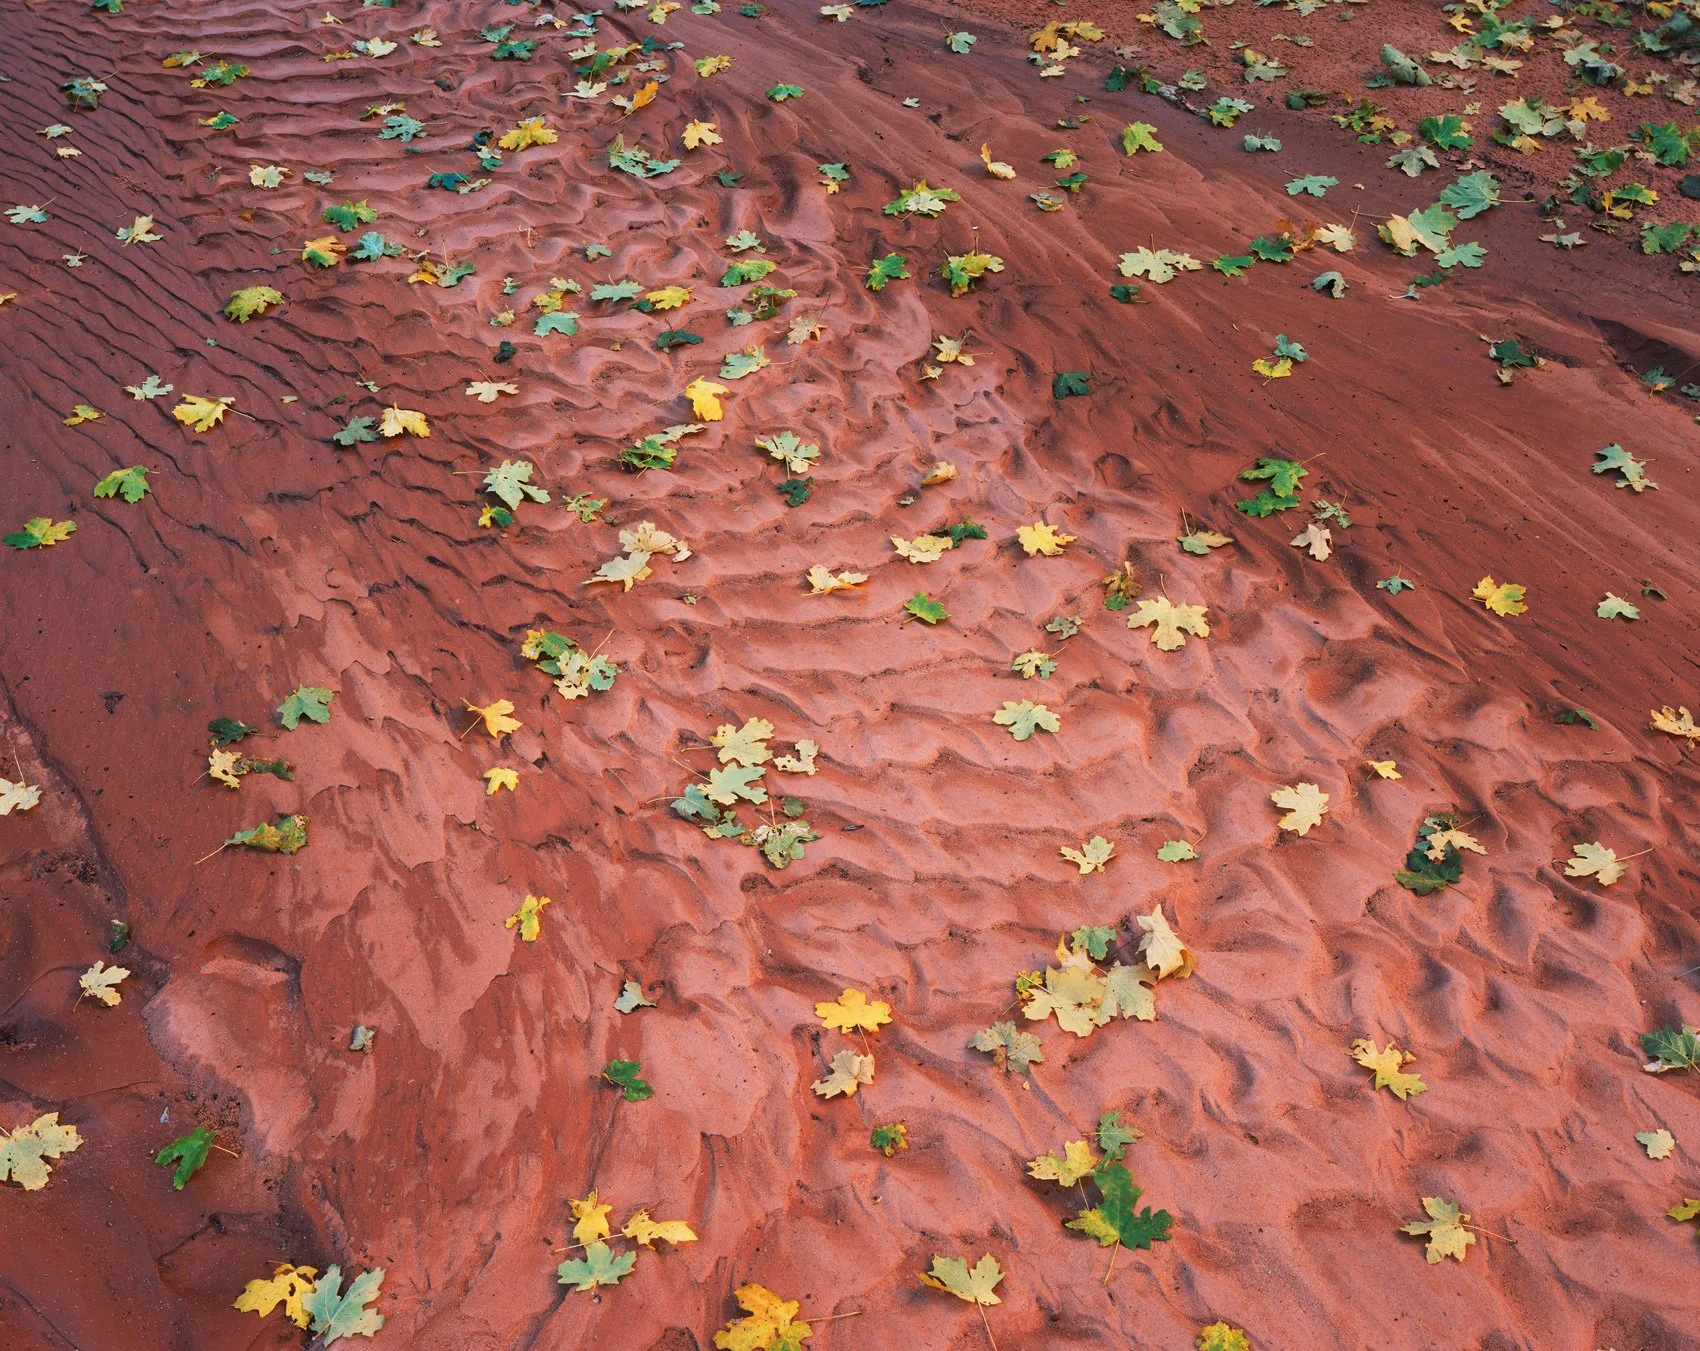
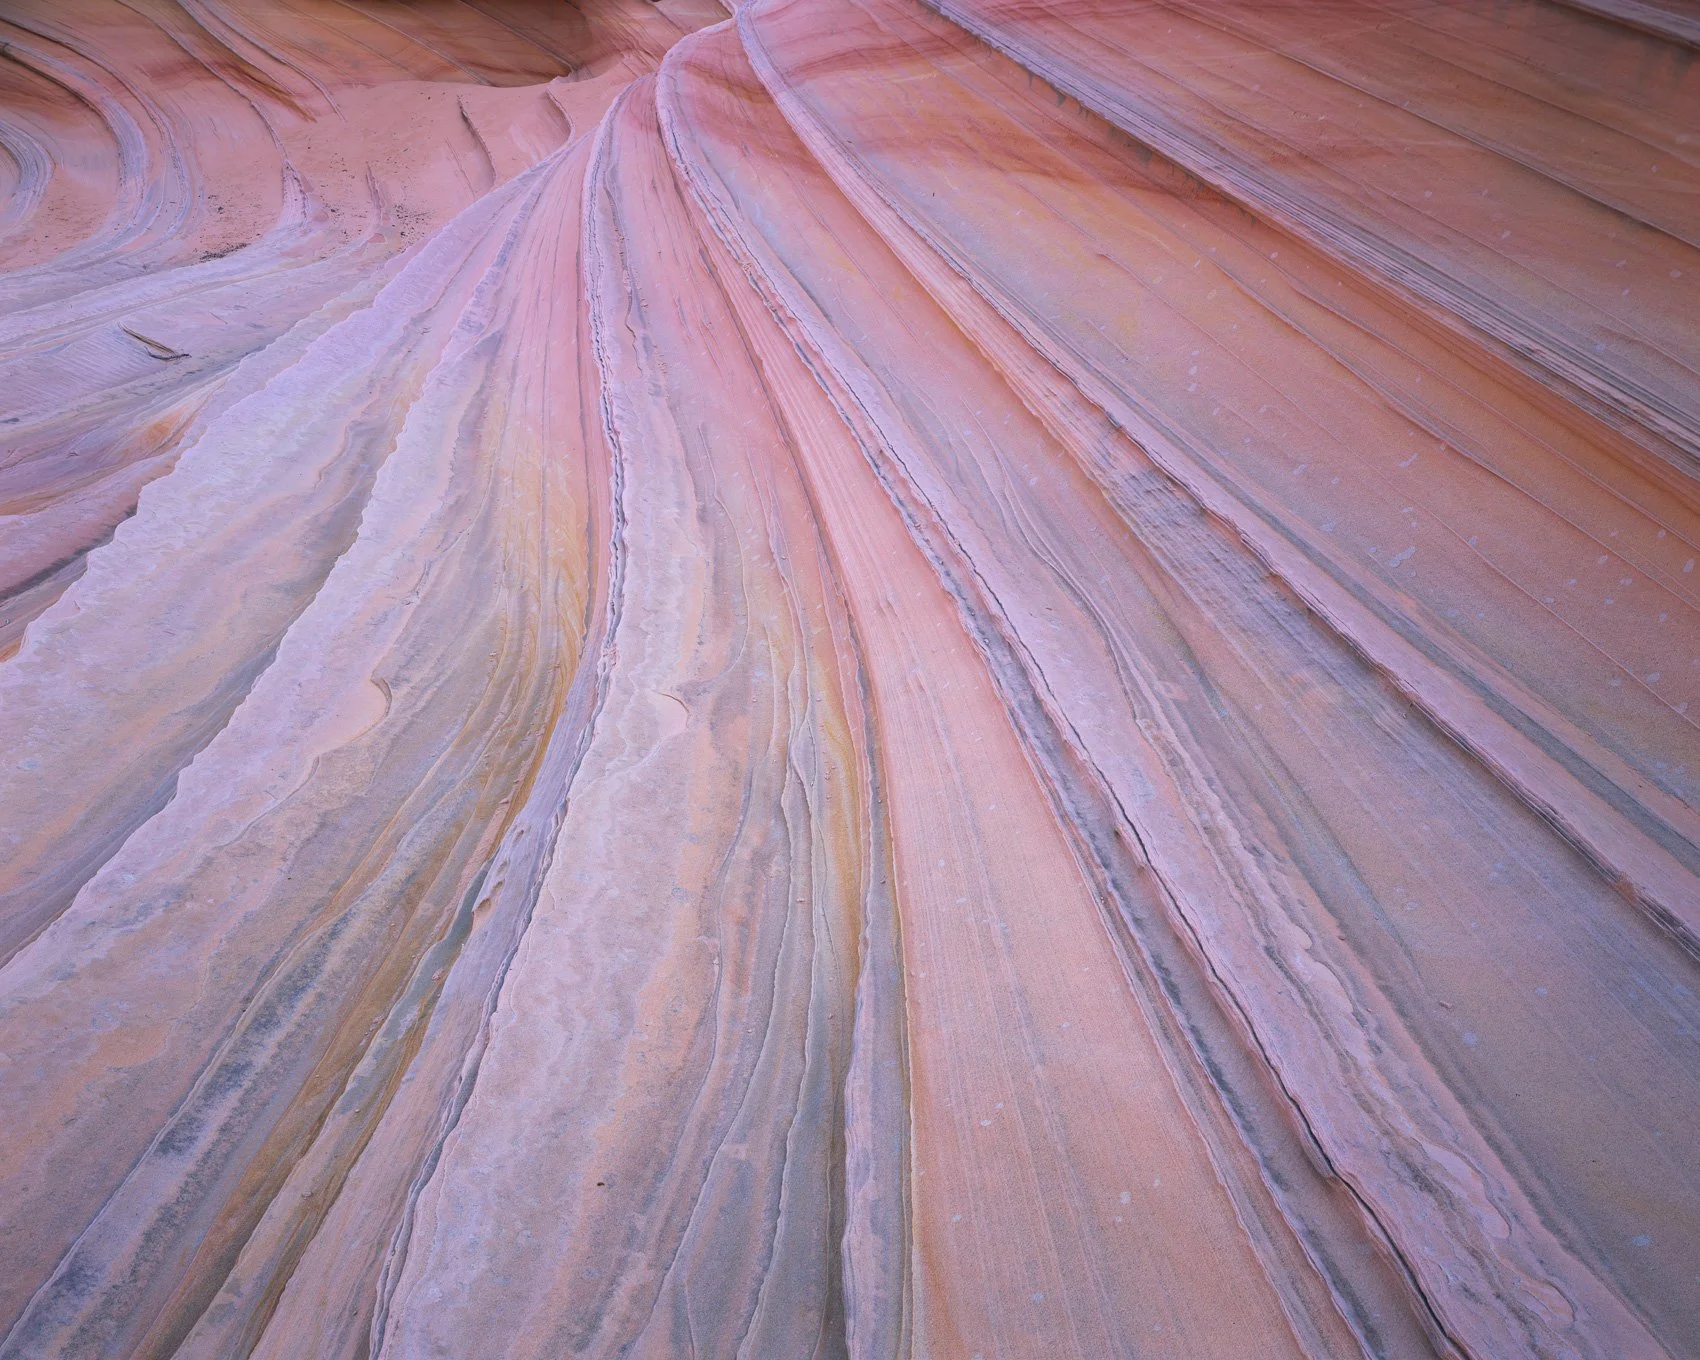
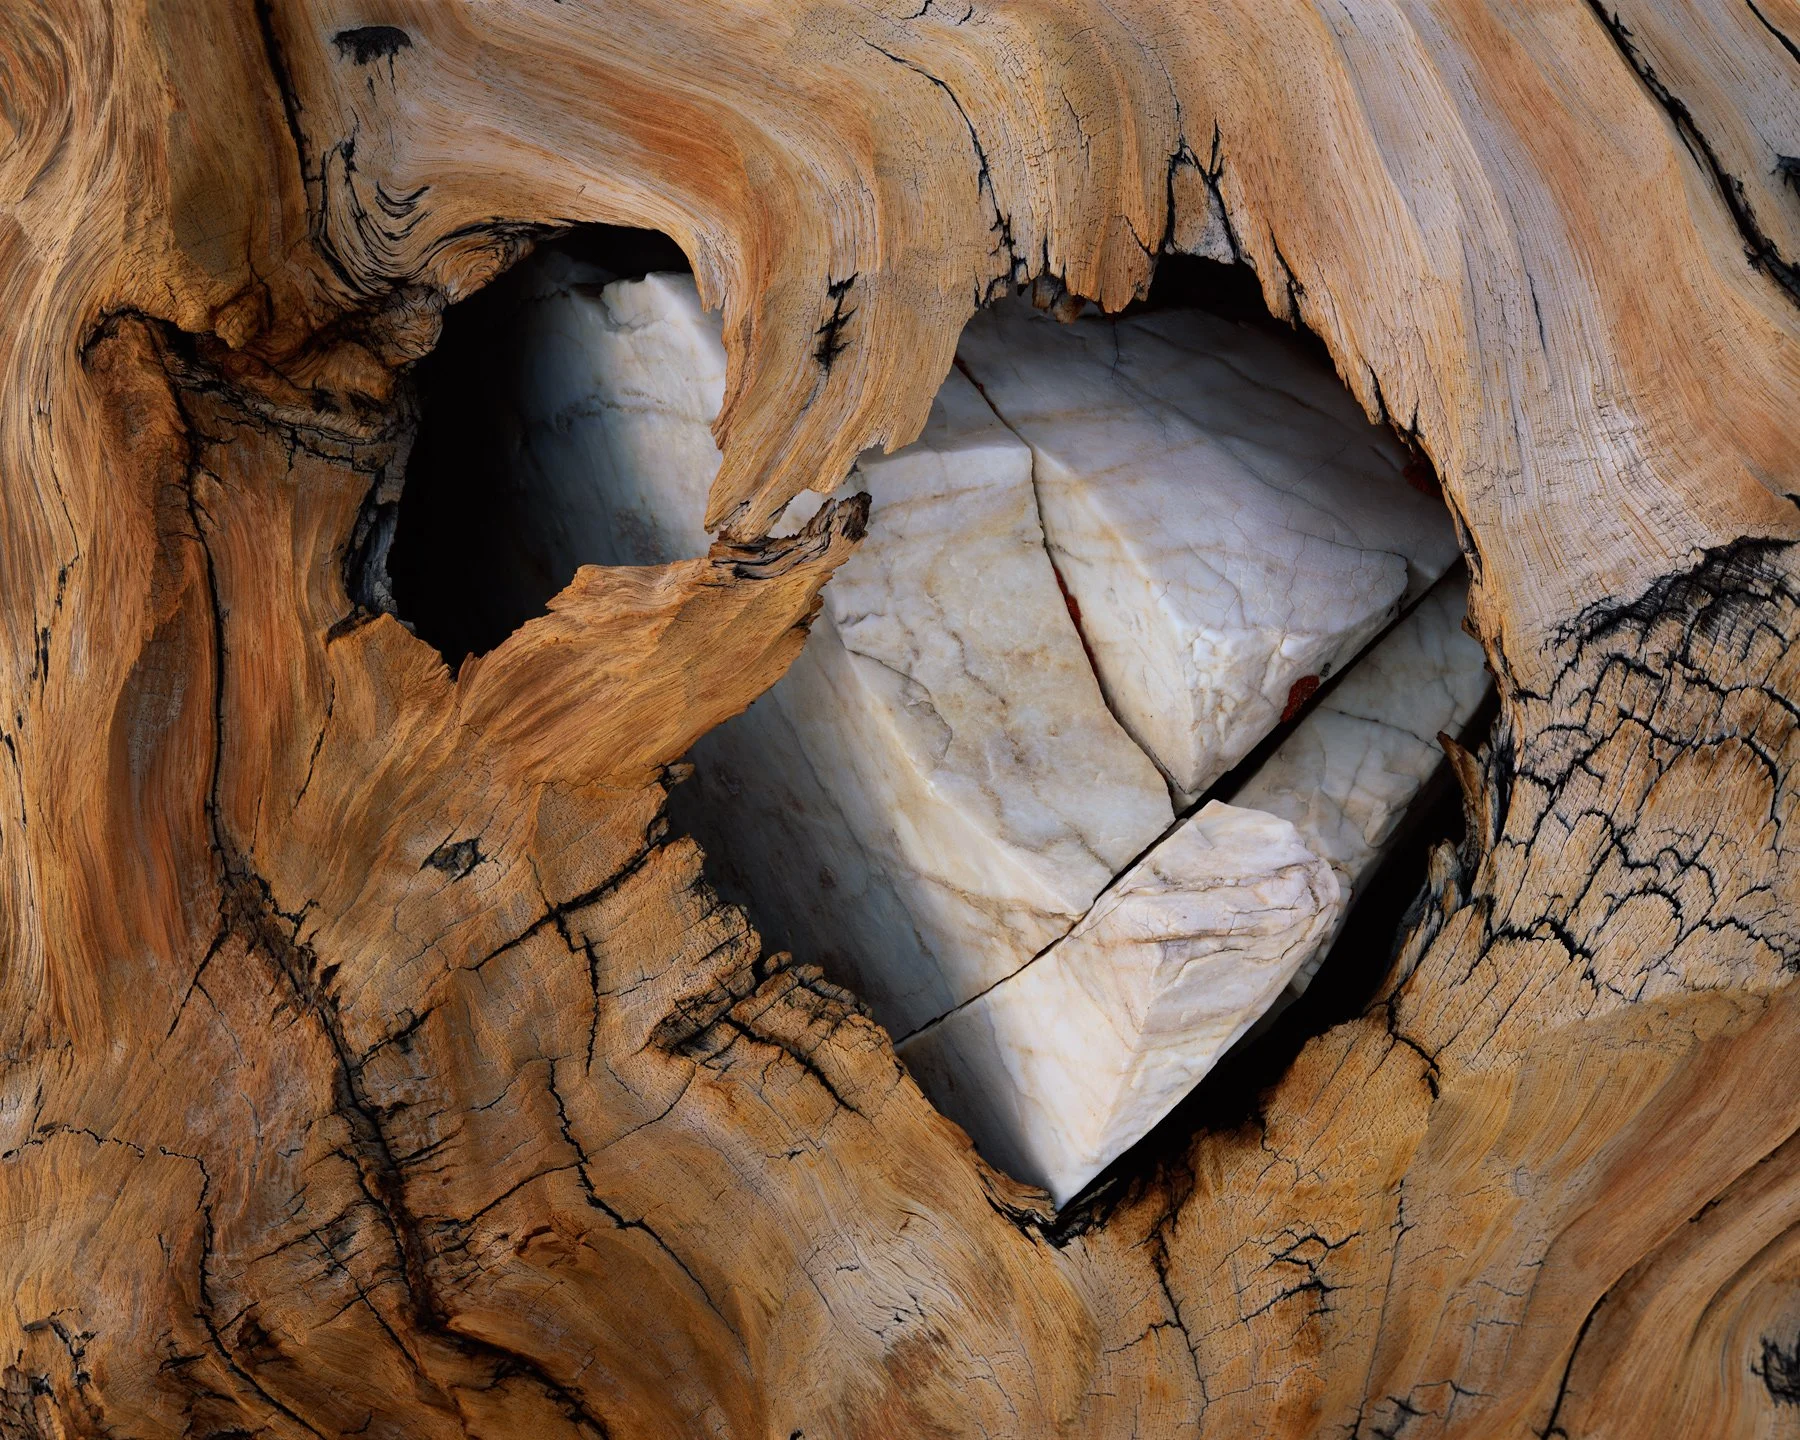
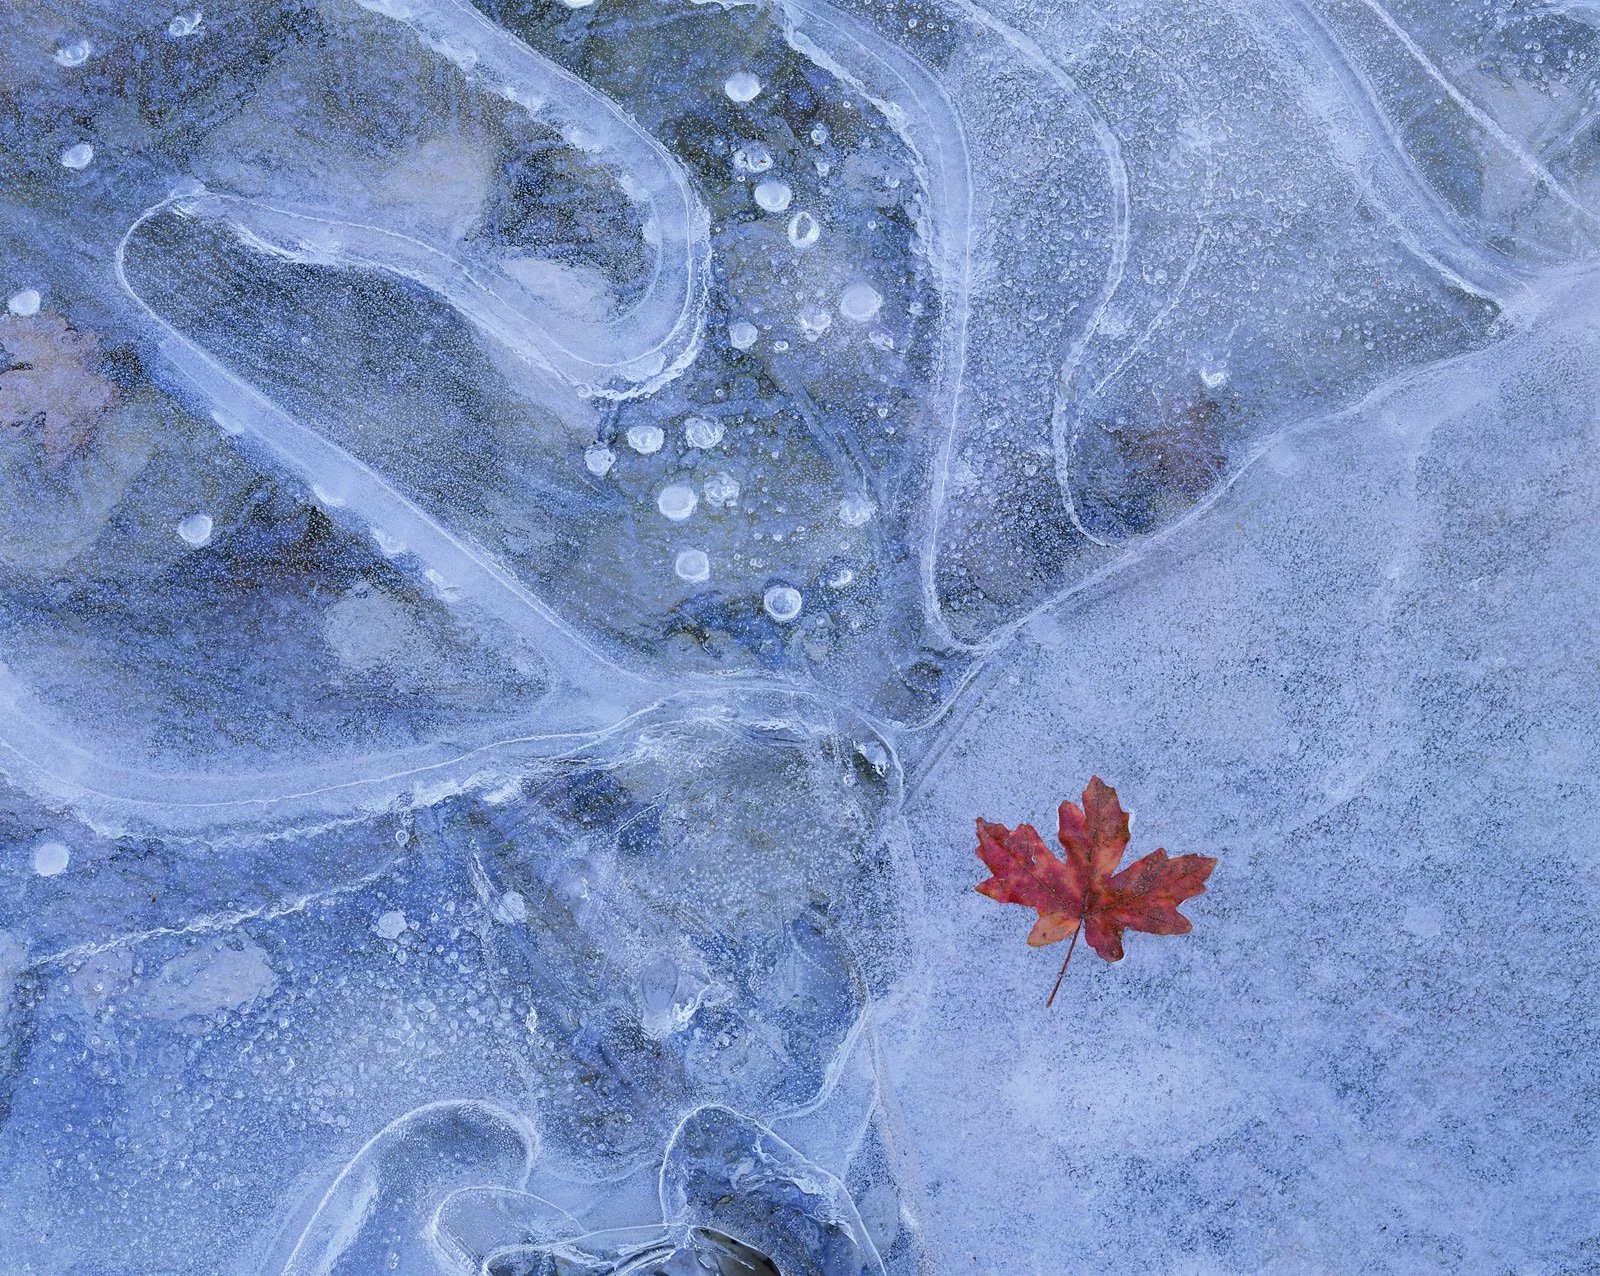
Fujifilm Provia 100F
A More Pastel Color Palette, Great for Long Exposures
I have come to embrace Provia 100F as one of the absolute best films on the market. When I was new to photography, I was drawn to Velvia 50 because of its color and contrast. Provia seemed boring by comparison, but as it turns out, that’s exactly what I want in a film. I want something with neutral color and saturation.
Velvia 50 looked great on a light box, but was difficult to scan because of the high contrast. In that sense, Provia is much like a RAW file from a digital camera. It has all the information you need, with impressive detail in both the shadows and highlights. Much like Velvia 50, Provia also performs best in subdued light. It has a faithful color representation, and does an amazing job massaging nuance from subjects with natural pastel tones.
Also unlike Velvia 50, Provia is a champ when it comes to long exposures, not requiring any additional correction until your exposures are over 10 minutes or so.
Although Provia 100F is still available for large format, it can be difficult to find in stock. I’m always on the hunt to purchase more, and routinely check some of my favorite online stores for inventory.

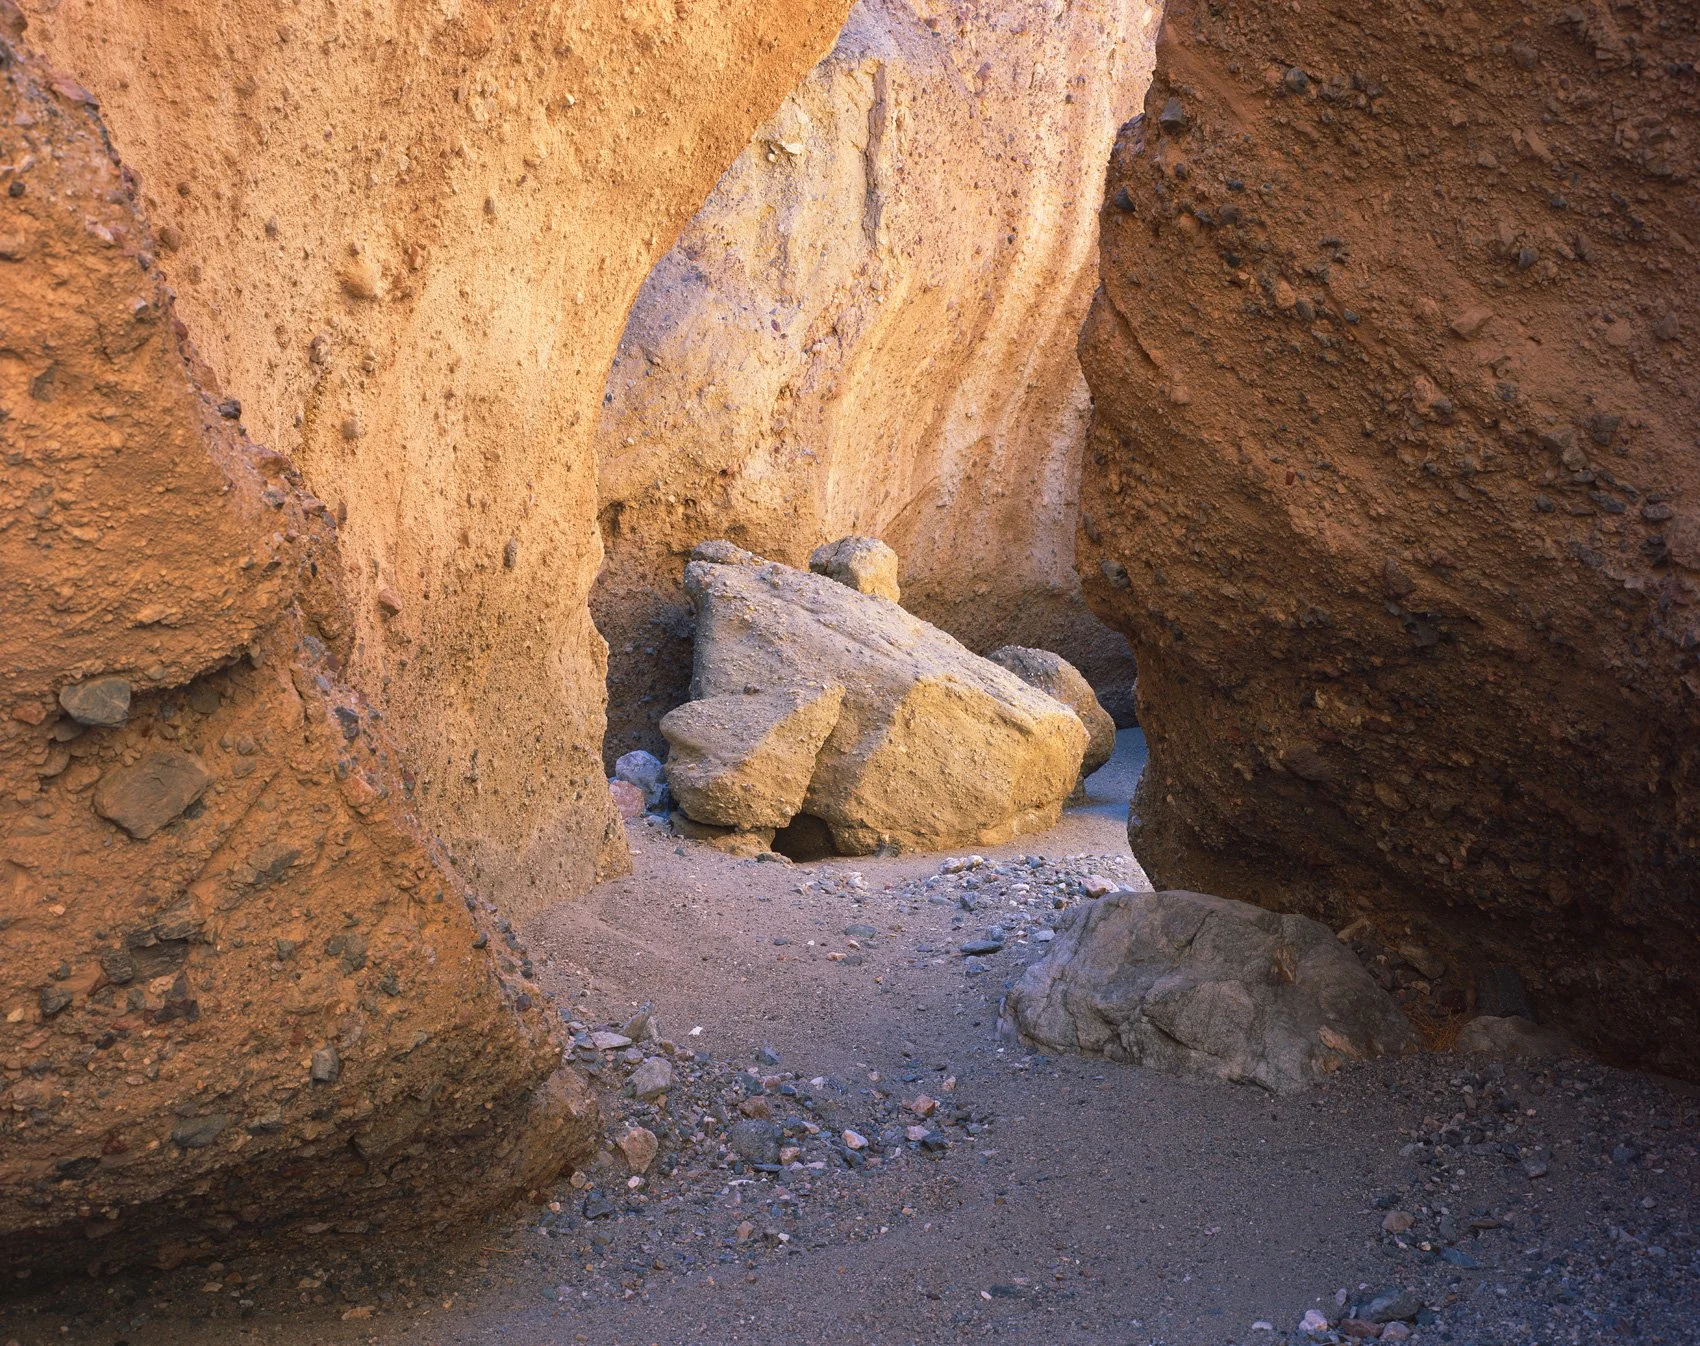
Kodak Ektar is especially well suited for scenes with strong contrast like this photo where there is a big difference in brightness between the dark canyon wall, and the bright area near the top center.


Kodak Ektar 100
Well Suited for High Contrast Subjects
Whereas Velvia 50 and Provia 100F are color transparency film, Kodak Ektar 100 is a C-41 process color negative film. This means that it is tough to scan, but can hold a great deal more dynamic range. Ektar has very fine grain, and holds an enormous amount of detail in the highlights. It is almost impossible to overexpose the highlights of Ektar, but you can certainly underexpose the shadows. My strategy for working with this film is to meter the darkest areas you wish to hold detail, and put it no darker than -1.5 on your meter. Let the highlights fall where they fall, and chances are you will be fine. I have had the highlights at +4 and beyond without issue.
Ektar is a film that craves contrast, and needs to be used in a situation with bright highlights and deep shadows. If you use it on a low contrast scene with a limited dynamic range, you will find that the resulting photo is often very muddy and tough to scan.
Since Ektar handles highlights so well, grad filters are not absolutely necessary, but I still try to use them when possible. In all my years of using Ektar, I have never once overexposed a photo on this film, but I have certainly underexposed many sheets. If it doubt, error on the side of a brighter exposure. You won't regret it.
large format Film Developing

North Coast Photographic
All of my color film since 2011 has been processed by my local lab, North Coast Photographic here in Carlsbad California. They handle E6, C-41, and B&W processing. Though I drive my film there and drop it off in person, they accept film by mail. Turn around time is quite fast (usually one or two days for me), and the service is great. If you are looking for a great lab, please contact these guys.
North Coast Photographic
5451 Avenida Encinas, Suite D
Carlsbad, CA 92008
(760) 931-6809
Flatbed Scanners

Epson Perfection V700
It wasn't long after I shooting large format film that I realized the need for a scanner. I did some research, and saw that a lot of people were recommending the Epson line of scanners.
At the time, the Epson V700 was one of the best options available on the market. In addition to its abilities as a regular flatbed scanner for prints and documents, it can scan 35mm, medium format, 4x5 and 8x10 film. It includes film holders for 35mm strip film, slides, medium format film, and 4x5 film. For those that are crazy enough to shoot 8x10 film, you are given only a film area guide that serves as a mask.
This leaves a lot to be desired when scanning 8x10 film because the film must be placed directly on the glass, which results in scans with horrendous newton rings.
The solution is to suspend the film above the scanner glass. Several years ago, I created a custom film scanning mask that allows me to tape the film to the mask, then place it on the scanner glass. For more information on how to make your own scanner mask, please refer to the Print Project video included in this section.
The Epson V700 has since been replaced by the Epson V800. If you are in the market for a Scanner these days, please check out the V800. That is what I would buy if anything ever happens to my V700.
Drum Scanning service

My Choice: Michael Strickland
For the best possible print quality, you will need to have your film professional drum scanned. This is a process that provides superior film flatness, sharper detail, better shadow and highlight tones, and more nuanced color than a flatbed scan. Even if I think my flatbed scan of a particular photo is fantastic, it pales in comparison to a quality drum scan.
When a customer orders one of my prints, I have the film professionally scanned so I know I am providing the best possible print. All of my drum scans are done by Michael Strickland. Not only is he great at scanning, he's also one heck of a large format photographer and a great guy. Feel free to reach out to Michael if you have any questions.